VMware VSphere Client Installation and Configuration
In this article we are going to see how to VMware vSphere Client Installation and Configuration Step by Step Guide. In previous post i was talking about installation of VMware vSphere Server after installing and VMware vSphere server we have to install VMware vSphere client to access and manage server, Deploy Virtual machines and So an…
Let’s see How to install VMware vSphere Client installation
- vSphere client is used for connect to ESXi server or vCenter server.
- Using vCenter, vSphere client you can Create, Access and Manage Virtual Machines and Virtual Networking
vSphere Client requires prerequisites : – Microsoft .Net 3.5 Or earlier versions
Download the ISO image of vCenter server from vmware website and burn image in DVD. Insert DVD into client machine such as Windows.
Right Click on the DVD and run the program Or auto install
On “VMware vCenter installer” window select “vSphere Client” and click on “Install” button ro install vSphere client 6.0 on windows machine
As shown in the above screenshot select vSphere client click on Install
Select Appropriate language and Click OK
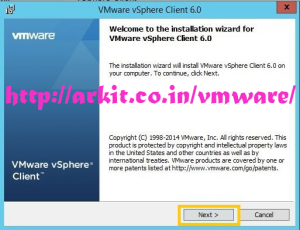
click Next to Continue the Installation
Accept the License Agreement and click Next
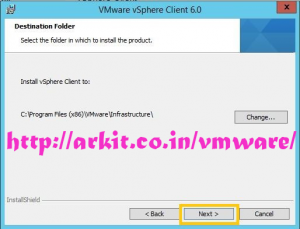
Click Next to Continue
Click on Install
That’s it your vSphere client is installed successfully. Now try to connecting VMware server to create and manage virtual machines
- IP Address / Name column enter your Server IP address OR Name of your VMware vSphere server
- Enter the user name (Default Administrator account is root)
- Enter the Password
Click on Login to connect vCenter / vSphere server.
After Successful Login above is the first look.
That’s about this article. Please do comment your feedback by commenting.
Thanks for your wonderful Support and Encouragement
- Get Email | Download E-Books
- Facebook Page
- Youtube Channel
- Exclusive Telegram Group
- Discuss On WhatsApp Group


