SubVersion Server Setup Linux Version Control Software TortoiseSVN
Subversion Control Software is used to Commit / Update / Merge your files based there modified versions. We can simple say Revision Control / Version Control / Source Software control to manage central repository for all your code. It’s most useful for software developers. SubVersion Server Setup Linux Step by Step Guide. Another way to connect Version Control Software TortoiseSVN from Windows Client.
This Software is developed in GPL (General Public License) which is complete open source solution and free to use in production servers as well with no restriction. Subversion can be published using a few protocol types
- svn://
- http://
- https://
- svn+ssh://
- file://
In this article we are going to see Apache Subversion server setup Linux.
Environment for Subversion Server Setup
- Linux Server with RHEL 7 – IP 192.168.229.128
- Windows 10 Machine as Client – IP 192.168.229.129
Subversion Server Setup Linux (Centos 7/ RHEL 7)
To Install Subversion Control Software Server Setup in Linux, you first configure YUM repository or EPEL Repository to install required packages. The main package we required is mod_dav_svn is an Apache module to host SVN solution.
# yum install -y httpd mod_dav_svn subversion
After successful installation of above depend packages you have to enable and start required services.
[root@ArkItServ ~]# systemctl enable svnserve.service
Created symlink from /etc/systemd/system/multi-user.target.wants/svnserve.service to /usr/lib/systemd/system/svnserve.service.

[root@ArkItServ ~]# systemctl enable httpd.service
Created symlink from /etc/systemd/system/multi-user.target.wants/httpd.service to /usr/lib/systemd/system/httpd.service.
[root@ArkItServ ~]# systemctl start httpd.service<
Let’s create SVN Configuration file and restart service
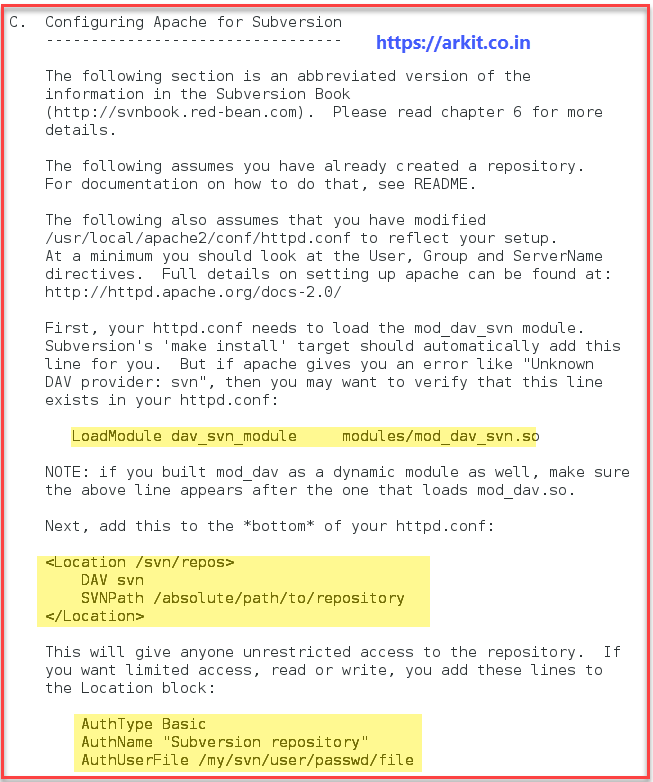
# cat /usr/share/doc/subversion-1.7.14/INSTALL
Use above Installation guide section II to grab initial configuration of TortoiseSVN Server setup
# vi /etc/httpd/conf.modules.d/10-subversion.conf
LoadModule dav_svn_module modules/mod_dav_svn.so
LoadModule authz_svn_module modules/mod_authz_svn.so
LoadModule dontdothat_module modules/mod_dontdothat.so

<Location /svn>
 DAV svn
 SVNParentPath /var/www/html/svn/repo1
 AuthType Basic
 AuthName "User Authentication"
 AuthUserFile /etc/svnusers
 Require valid-user
</Location>
above is example to add svn server configuration in RHEL 7 then try to start your svnserve.service which is SVN Server service name
Aug 29 21:03:33 Server0.local svnserve[4030]: svnserve: Root path '/var/svn' does not exist or is not a directory.
If you see error /var/svn doesn’t exists then do below
[root@Server0 svn]# vi /etc/sysconfig/svnserve
# OPTIONS is used to pass command-line arguments to svnserve.
#
# Specify the repository location in -r parameter:
OPTIONS="-r /var/www/html/svn/repo1"  <--- Change Here
Let’s start Subversion server services
systemctl restart svnserve.service
Create SVN repository and User
Using svnadmin inbuilt command create repository in web server location (default root path)
# cd /var/www/svn/
# svnadmin create repo1
Creating user authentication for SVN access
# touch /etc/svnusers
# htpasswd -cm /etc/svnusers arkit
New password:
Re-type new password:
Adding password for user arkit
Change repository and there associated files/directories permissions to apache user because every thing we execute from client is going to be executed using apache user
# chown -R apache:apache /var/www/html/svn/
Allow firewall ports
[root@Server0 svn]# firewall-cmd --permanent --add-service=http
success
[root@Server0 svn]# firewall-cmd --permanent --add-service=https
success
SELinux context to files and directories
# semanage fcontext -a -t httpd_sys_rw_content_t "/var/www/html/svn(/.*)?"
# restorecon -vRF /var/www/html/svn/
That’s it Subversion Server setup Linux is Ready to rock..!!
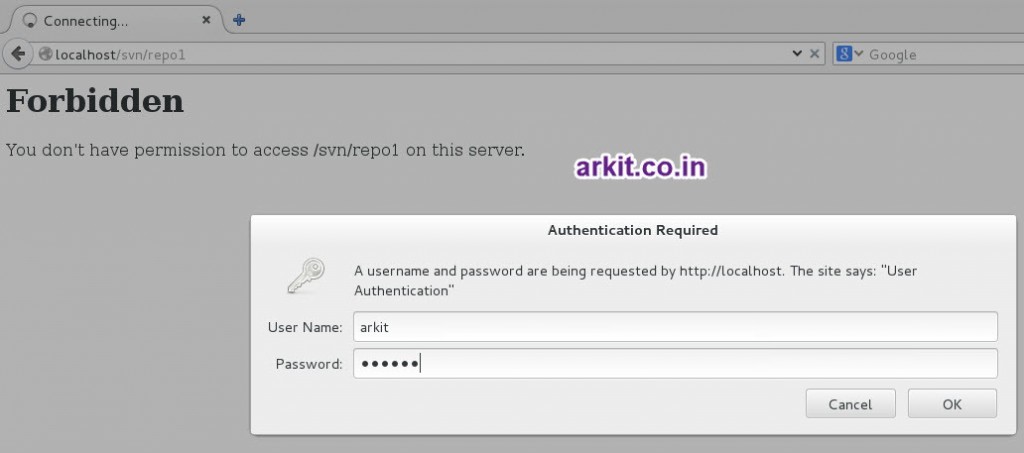
Verify SVN Server Repository path using browser
Go To Client side and Access SVN Server repo
Download TortoiseSVN using below URL and follow the steps to install it in Windows machine
https://tortoisesvn.net/downloads.html
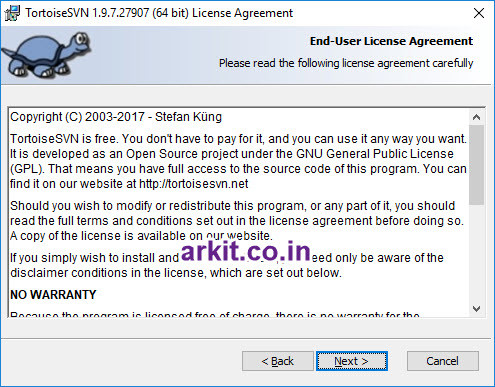
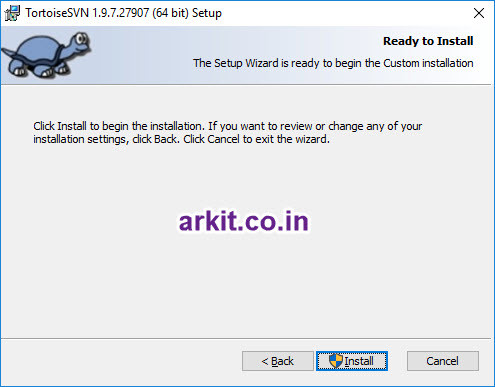
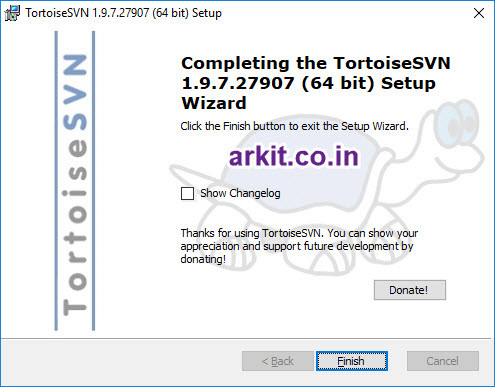
double click on setup file
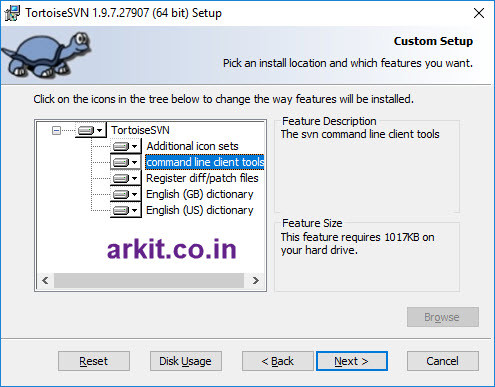
Click next to continue
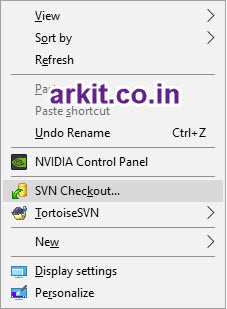
Let’s checkout repository where ever you want (i am doing in desktop path)
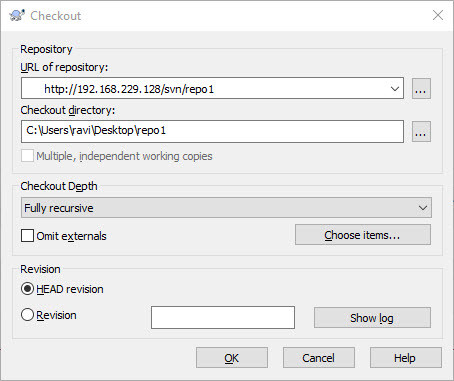
After clicking in SVN Checkout option it will ask you to enter SVN server path
SVN checkout is successful now your turn to commit the required files and documents to SVN Server.
Related Articles
NFS Server configuration step by step guide
How to Reset Ubuntu Root Password
Thanks for your wonderful Support and Encouragement
- Get Email | Download E-Books
- Facebook Page
- Youtube Channel
- Exclusive Telegram Group
- Discuss On WhatsApp Group

