vmware ESXi 6.0 Installation process step by step guide
vmware ESXi 6.0 installation process step by step guide
Before going to talk about vmware ESXi installation process, we have to know what is ESX = “Elastic Sky X” which ESX is run on bare metal (without OS installation) we can directly install ESX on Hardware. Before going to install the VM ware ESXi 6.0 server, you have to make sure your hardware necessary system requirements.
Hardware Requirements
- 64Bit (x86) processor with VT-x or AMD-V (Enabled in the BIOS level)
- Dual core processor
- RAM minimum 4GB (Only for Basic installation)
- 10GB space of local storage (Only for Installation) For Creating Virtual machine you have to add more space as required
- NX/XD bit must be enabled fro the CPU in the BIOS
Step 1: Downloading vSphere Hypervisor
open the browser and type www.vmware.com →Click Downloads→Select Vmware vSphere hypervisor ESXi 6.0→ Click License and Download (TAB) and login OR Create an account for VMware ESXi 6.0 ISO Image download with license version.
Now you will receive an Activation link from VMware. Open you email account and click on that link to activate VMware account.
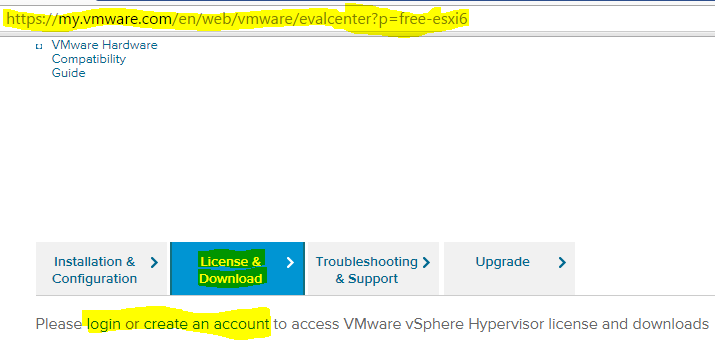
The following page will be displayed when you have successfully logged into the VMware download center

- Click the download link for VMware vSphere Hypervisor 6.0 – Binaries ESXi ISO Image to install ESXi 6.0 and download the VMware vSphere Client 6.0 also.
- The VMware vSphere Client 6.0 software is the client software that allows us to connect and manage the ESXi 6.0 server.
- You can Use the Download Manager or Manually Download button.
Step 2: Installing VMware vSphere hypervisior 6.0 (ESXi 6.0)
Now take one empty CD / DVD then write the downloaded ISO Image. You can attach the virtual CD-ROM drive in server to the VMware-Hypervisior-ISO Image, If you have an option to attach using iDRAC or Console access, In that case no need to write the ISO to CD / DVD
As soon as you attach the CD / DVD / ISO image to physical machine then power on the server
Change boot option if required to first boot device as CD-ROM
As soon as you boot with the CD-ROM you will see below shown screen
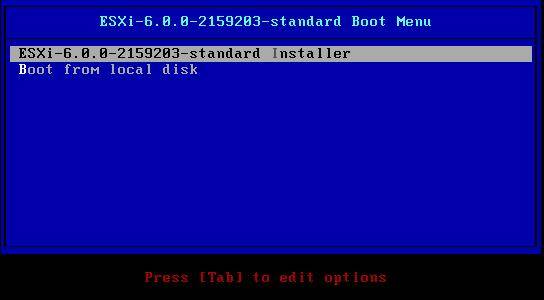
The default option is to boot ESXi 6.0 Standard Installer then click Enter, Any key to pause the boot process
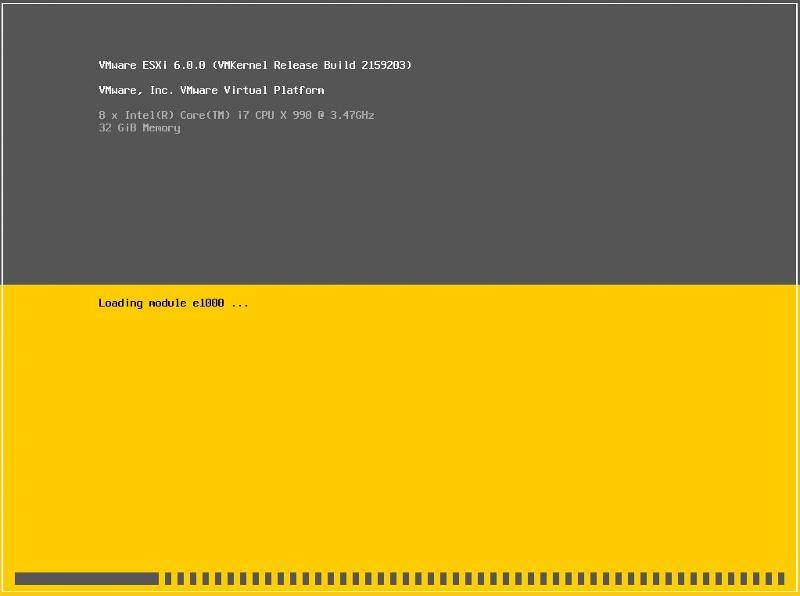
ISO image is loading setup.
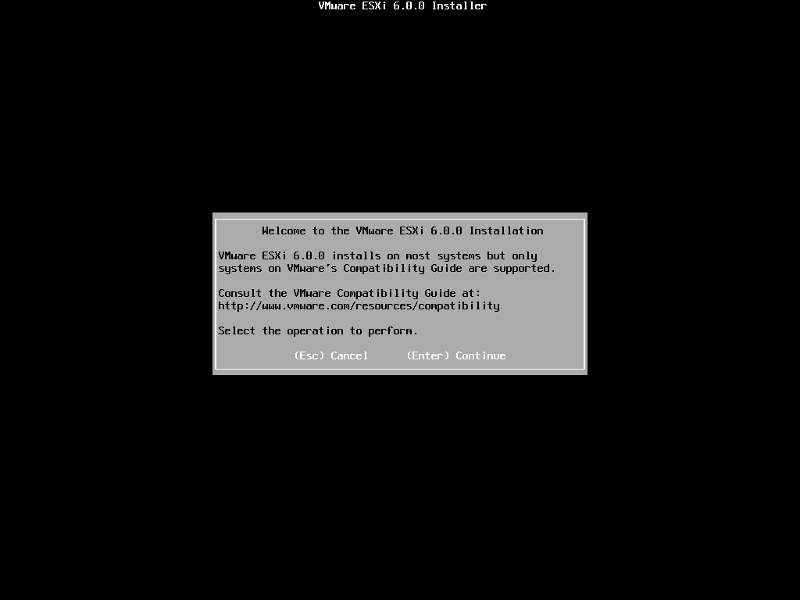
WelCome to the VMware ESXi 6.0 installation screen Hit Enter to Continue
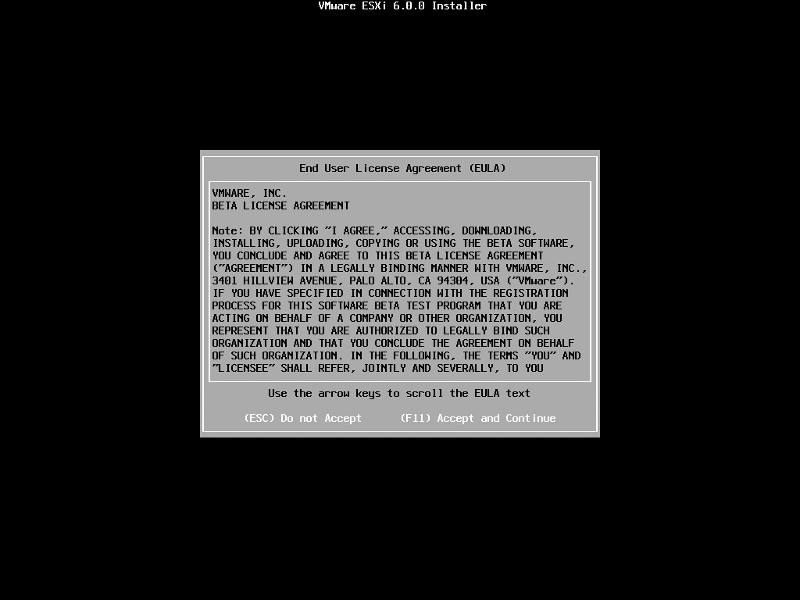
Press F11 to Accept Terms and Conditions
- ESXi can be installed on a SD card or USB flash drive attached to the computer, local SATA, local RAID Array, or FC (Fibre Channel) or iSCSI LUN.
- All these are supported options. As the footprint for ESXi is very small only 1GB is required for the ESXi OS installation.
- When prompted select a disk to install ESXi on, in the following example, we have two disks connected to this computer, a single 1GB disk, and a 120GB disk.
- Here going to use the small disk for the OS. The larger 120GB disk will be used later for the storage of virtual machines (VMs).
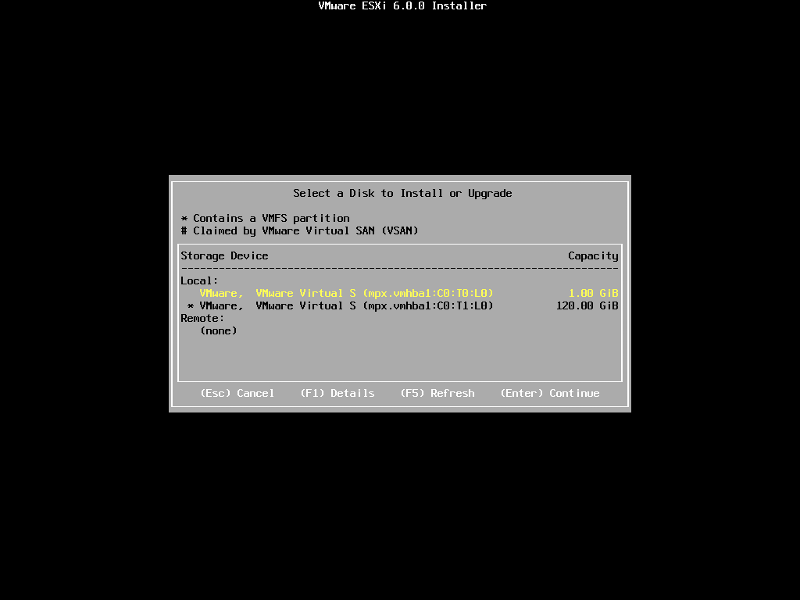
Select Disk in which one you would like to install. Enter to continue the installation
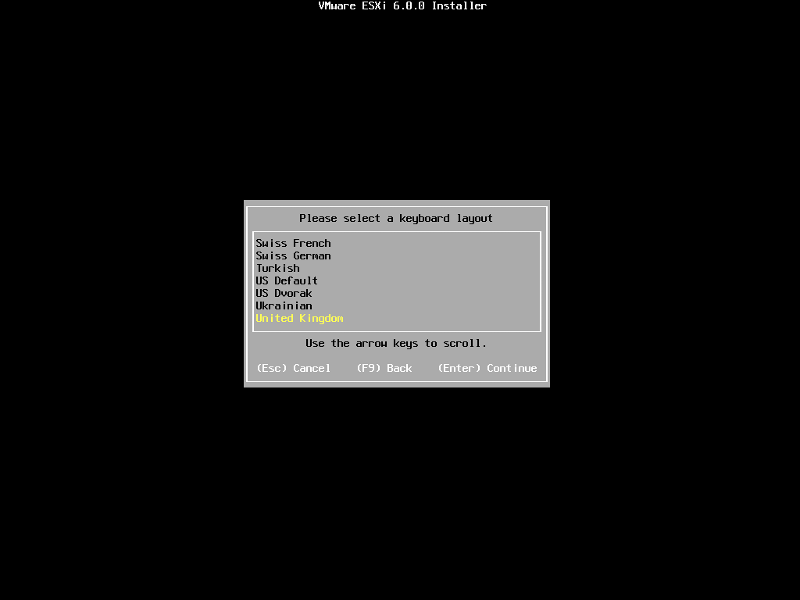
Select Keyboard language Enter to continue Installation
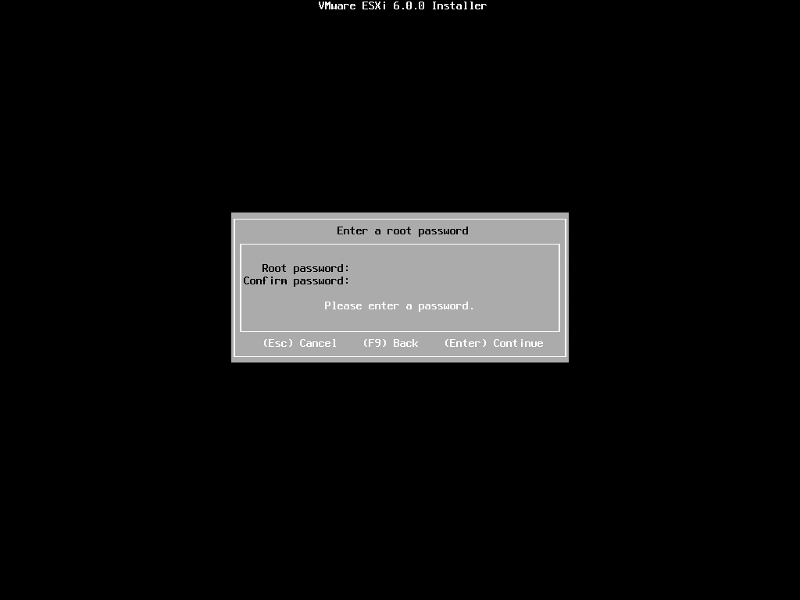
Set Root user password (which is very high privileged user )
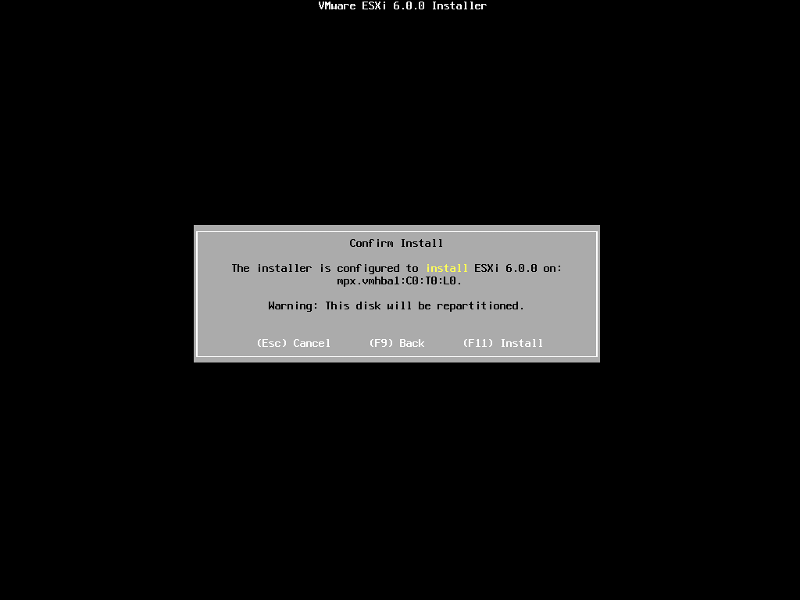
F11 to cofirm that Install ESXi software. Now Confirm the Installation on the selected disk and press F11 (Install).after this stage
All data will be erase, as the disk will be repartitioned.
After installation process completes 100% then it will prompt to restart server

Installation of ESxi 6.0 is Completed successfully. Now we will see how to assign static IP address to access the VMware vSphere from vSphere client
Assigning IP address to Vmware vSphere ESXi 6.0 from console
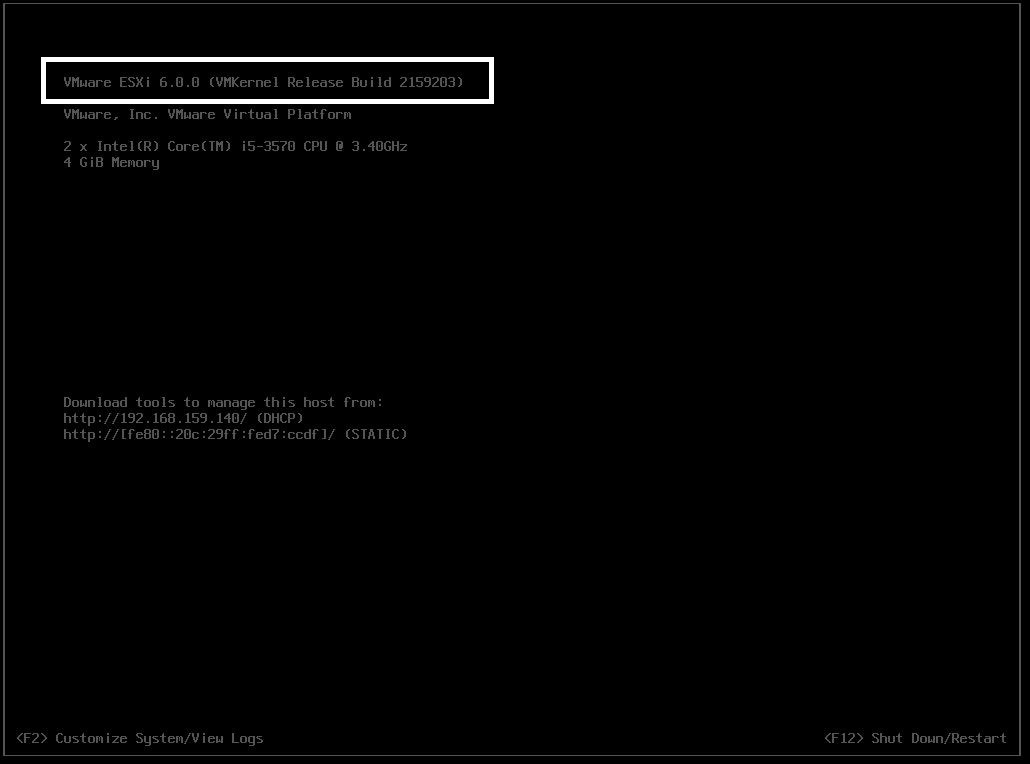
Vmware console will look exact like above screen, If you would like to edit configuration then press F2 key
After that it will ask for the root user password (Note: If you did not have root credentials then you can’t modify anything from console)
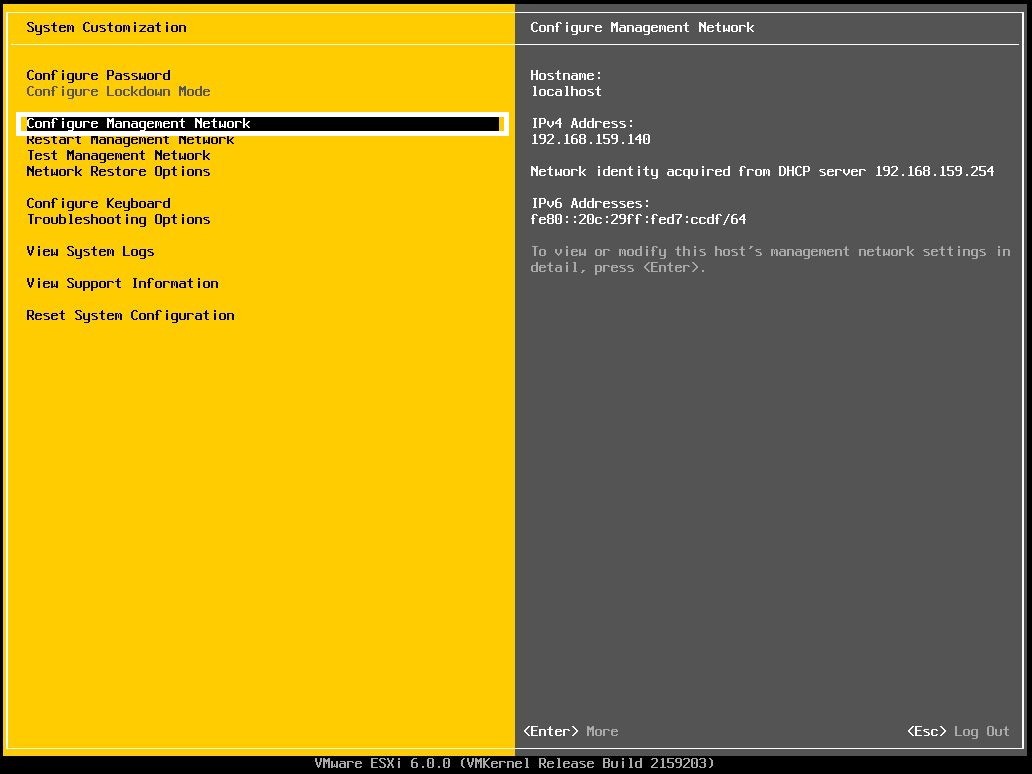
As shown in above screen you can see lot of options
- Here you can Change User password.
- configure / Assign IP Address and DNS IP Address
- Hostname Change
- Configure Keyboard Option such as Language settings
- Viewing the logs for any error
- Any Issues you can troubleshoot from here
- You can also reset entire host configuration one go
As of now we are not going to see all the above option right now we see how to change IP address of ESXi host
Select Configure Management Network Hit Enter
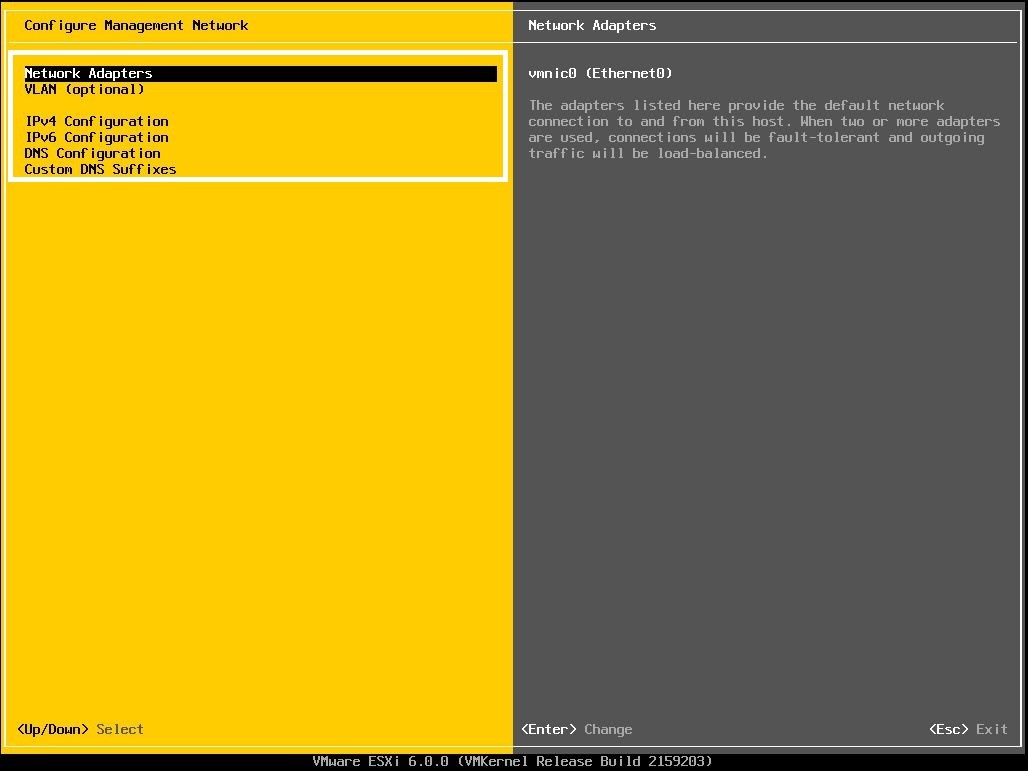
Select Network Adapters and Hit Enter
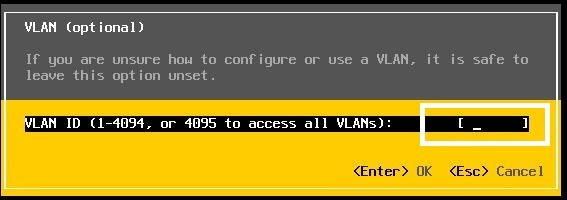
Provide VLAN ID and Hit Enter
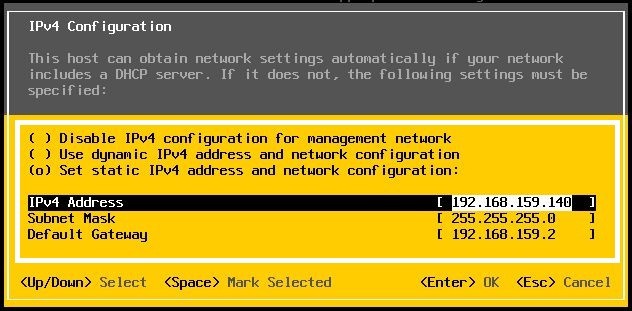
Provide IP address for VMware vSphere Management, Gateway and Subnet Mask Hit Enter
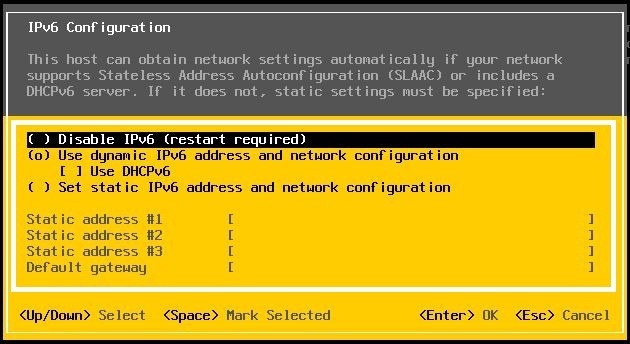
if you would like to disable IPv6 then select disable IPv6 by pressing space bar
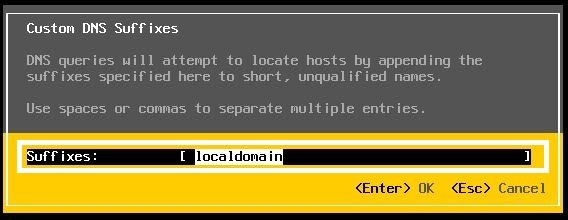
Add DNS configuration to resolve the Host Name from other hosts
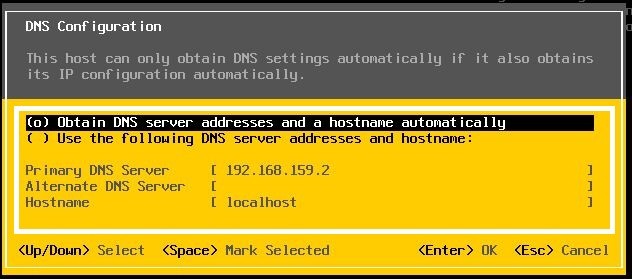
Type DNS IP address and Hit Enter
In this Configure Management Network screen, press button “Escape” to exit and accept changes. Restart the machine.
To Access this vSphere to create and manage Virtual Machines, Downloa and Install VMware vSphere client.
That’s about Installation and Configuration of vmware ESXi 6.0.
Thanks for the read. Please do comment your feedback
Thanks for your wonderful Support and Encouragement