RHVH 4.1 Installation Step by Step Guide Red Hat Virtualization Host
Red Hat Virtualization Host (RHVH 4.1) is installed using a special build (Download Link)of Red Hat Enterprise Linux with only the packages required to host virtual machines. It uses an Anaconda installation interface based on the one used by Red Hat Enterprise Linux hosts, and can be updated through the Red Hat Virtualization Manager or via yum. Using the yum command is the only way to install additional packages and have them persist after an upgrade. In this article we are going to see RHVH 4.1 installation
RHVH features a Web interface for monitoring the host’s resources and performing administrative tasks. Direct access to RHVH via SSH or console is not supported, so the Cockpit user interface provides a graphical user interface for tasks that are performed before the host is added to the Red Hat Virtualization Manager, such as configuring networking and deploying a self-hosted engine, and can also be used to run terminal commands via the Tools > Terminal.
Access the Cockpit user interface at https://RHEV-HOST-FQDN:9090 in your web browser. Cockpit for RHVH includes a custom Virtualization dashboard that displays the host’s health status, SSH Host Key, self-hosted engine status, virtual machines, and virtual machine statistics.
RHVH 4.1 Installation Step by Step Guide Red Hat Virtualization Host
Burn ISO image into CD/DVD or Attach ISO image to physical server using iDRAC / ILO / HMC hardware console, Boot from CD/DVD
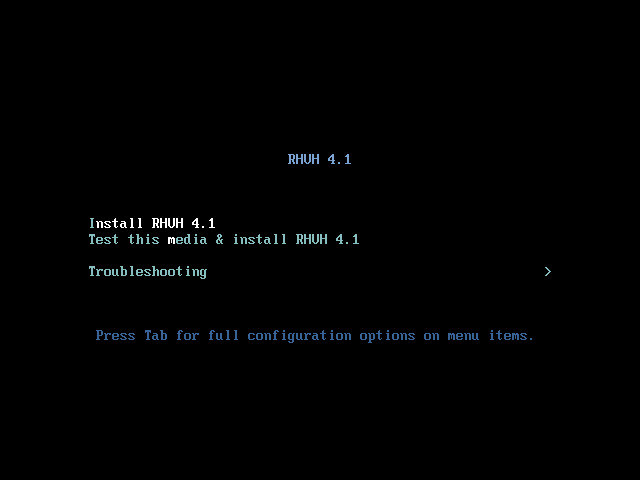
RHVH 4.1 Booting Screen
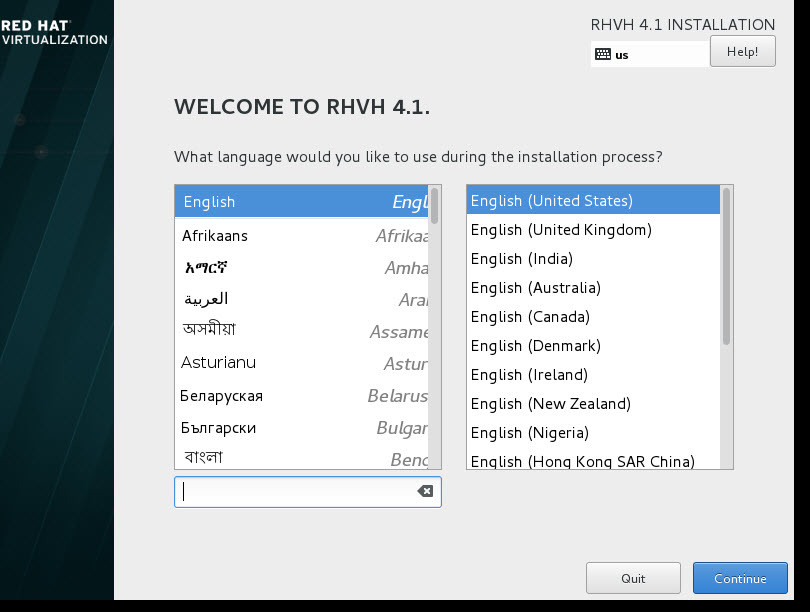
system language
Select Install RHEV 4.1 and Hit Enter
Appropriate / required language and click Forward

Installation Options

Time Zone Selection
DATE & TIME –> Appropriate Time Zone
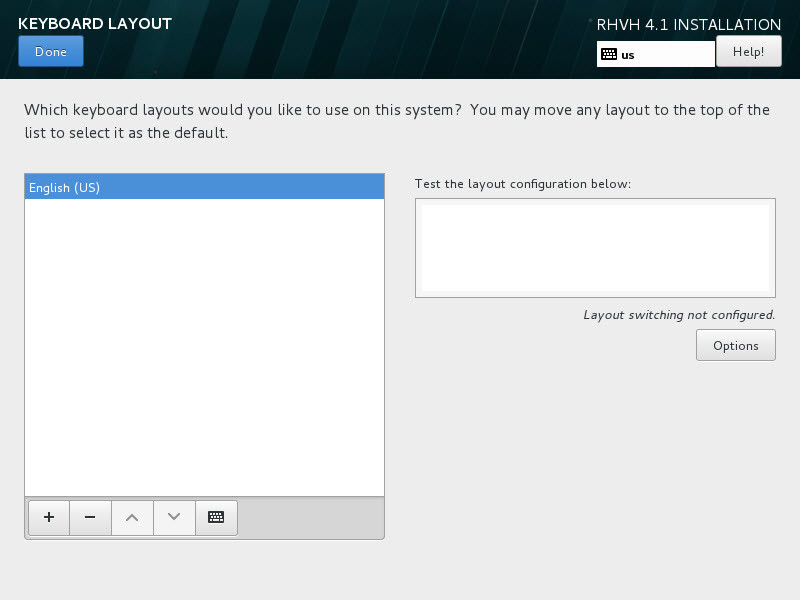
Keyboard Language Selection
KEYBOARD and select language to type
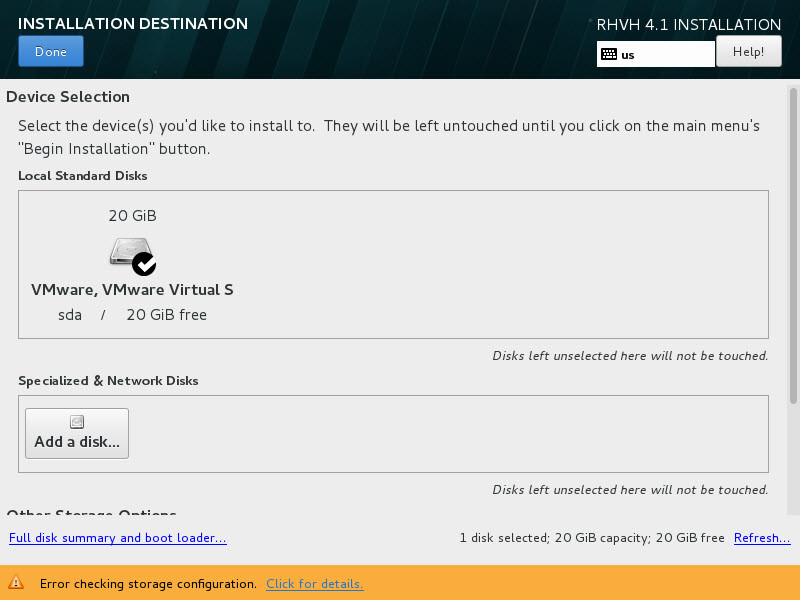
Disk Partitioning
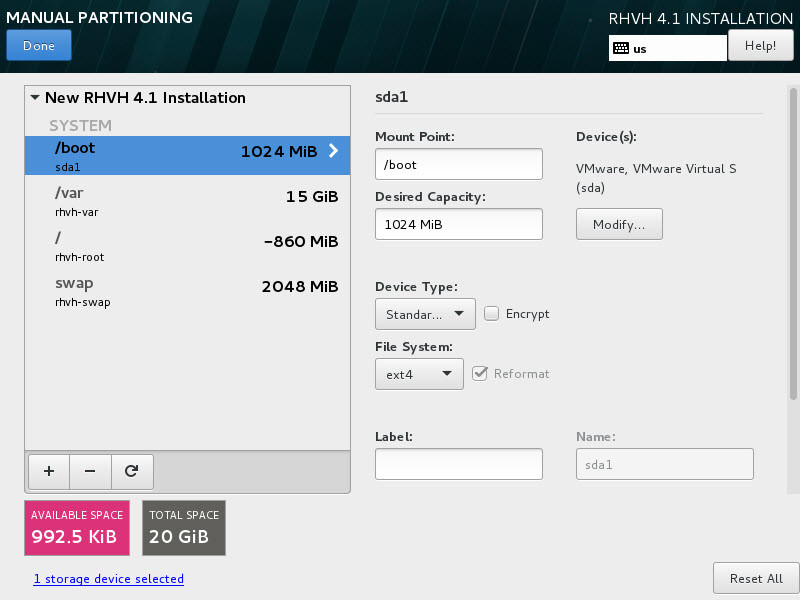
LVM thin provisioned
Create either startandard Or LVM partitions preferred Logical Volume Manager (LVM Partitions)
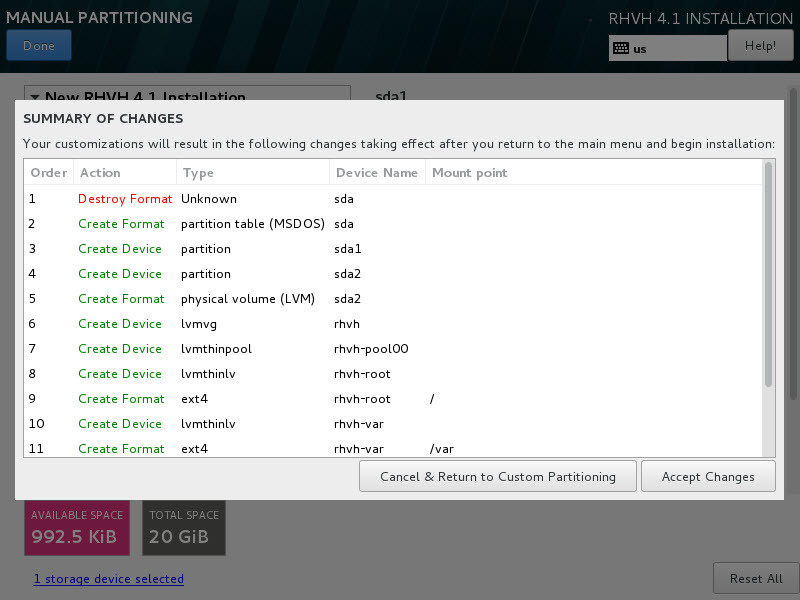
Final LVM Partition acceptance
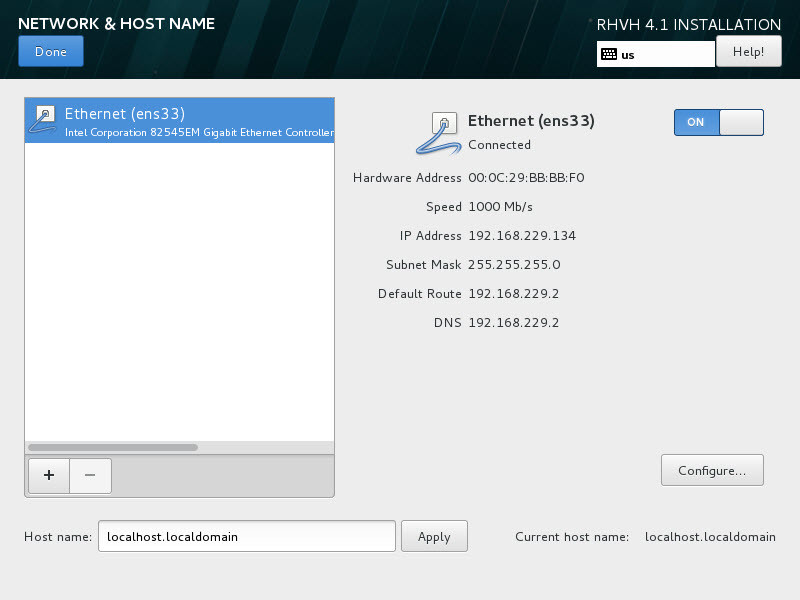
Network Settings and Host Name
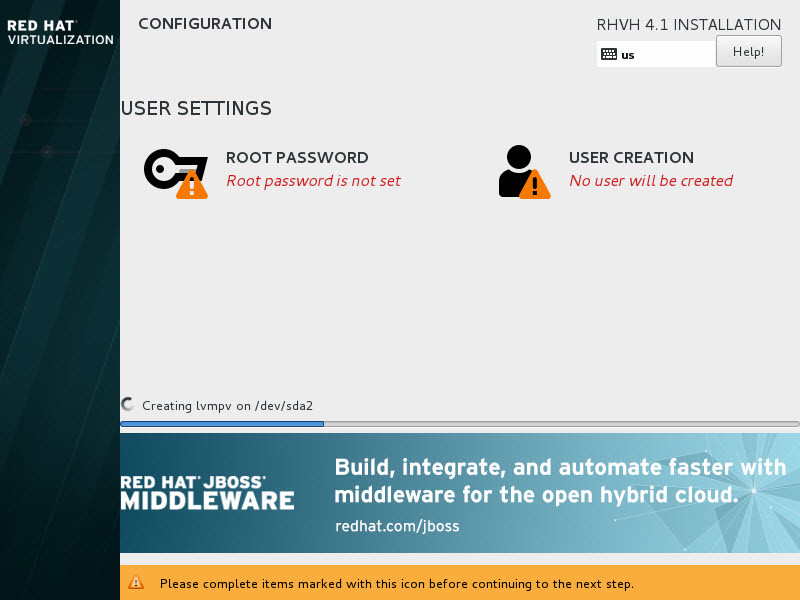
Set Root user password
Using above wizard we can create Root Password and Create New User
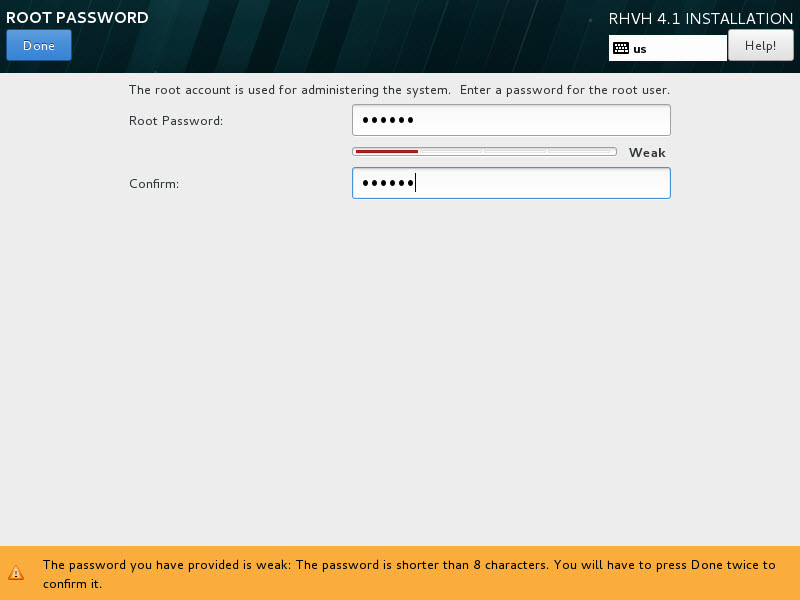
root password
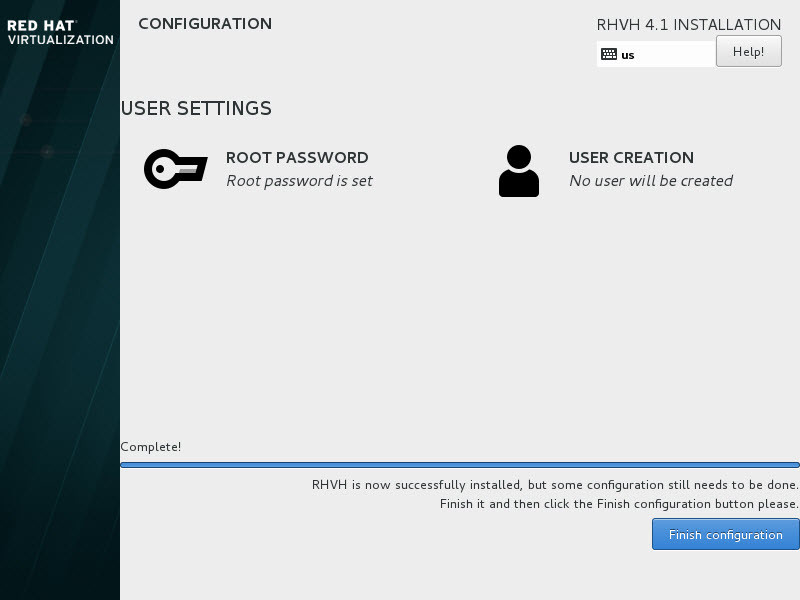
After completion all the above options, it will prompt to reboot. Installation completed successfully.
That’s it Now login to RHVH using web browser https://RHVH-FQDN:9090 provide root user credentials
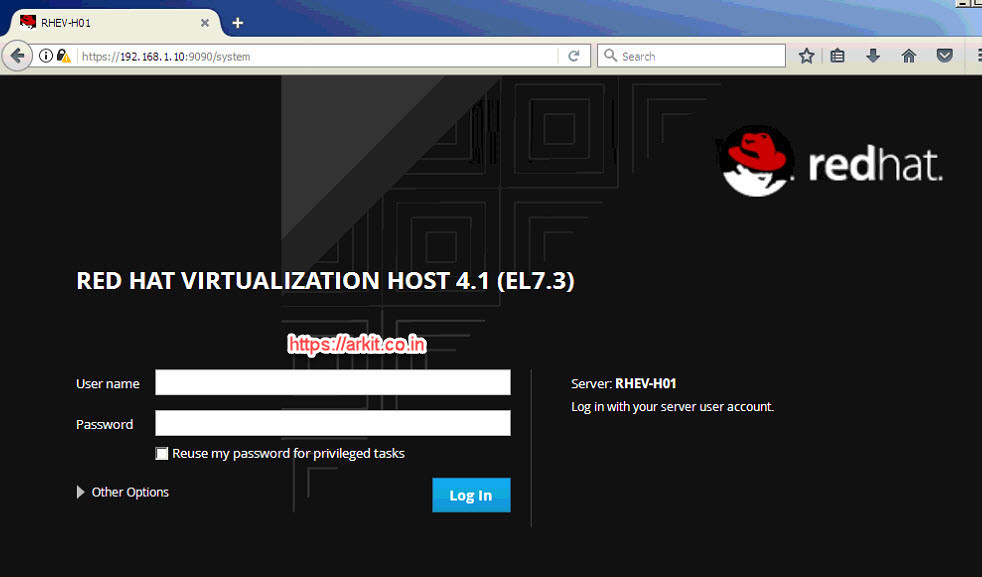
RHVH Login Screen
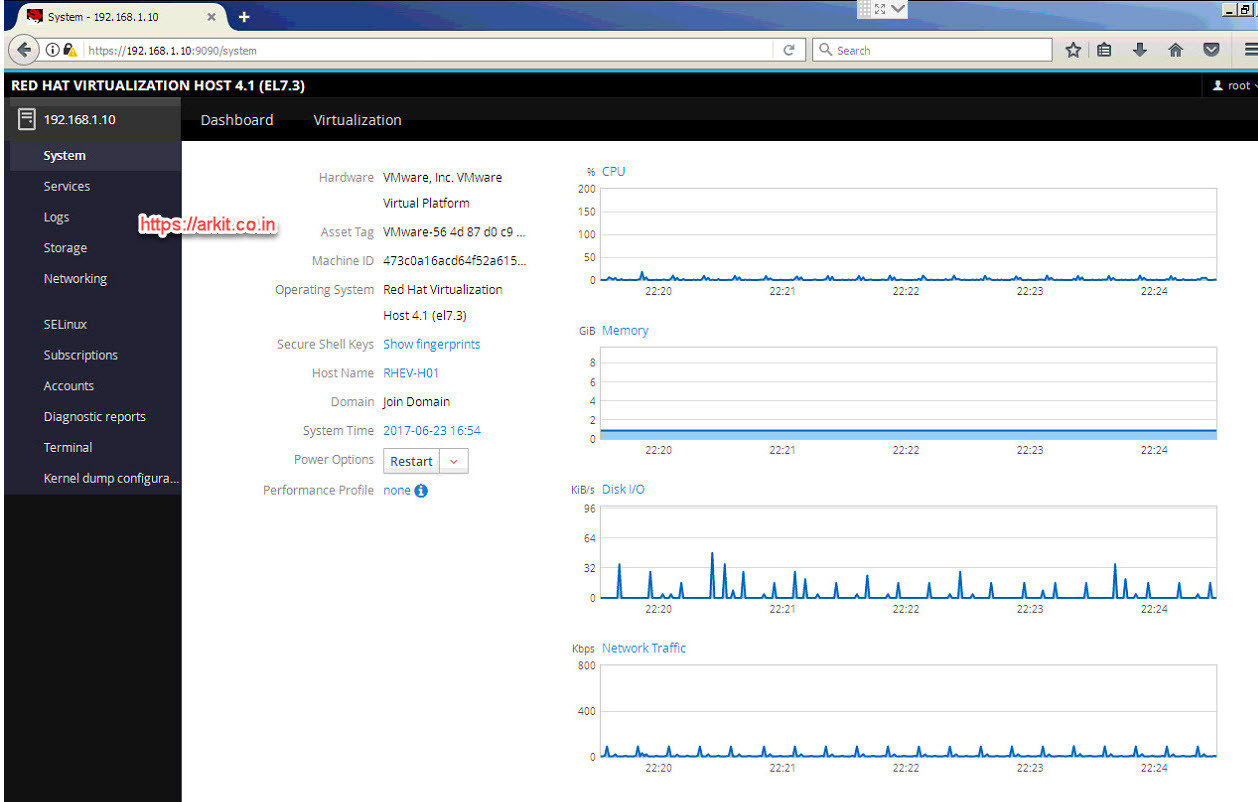
RHVH Options and Performance Monitoring
Related Articles
Thanks for your wonderful Support and Encouragement