NagVis Installation CentOS 8 Step by Step Guide | ArkIT
NagVis is a visualization tool. You can create great visualized maps using nagvis software, along with Nagios monitoring tool or icigna you can use it. NagVis Installation CentOS 8 step by step guide for you in this article.
- Display of single Hosts and Services
- Visualize a complete Host- or Service-group with one icon
- Display the summary state of a Host and all its services
- Display only the real problems
- Sub-map icons which represent a complete NagVis Map in one icon (drill down)
- Visualization of complete IT processes using self drawn graphics
- Online documentation of IT environments including current states
- Visualization of network traffic using weather-map lines
- Multilingual capabilities
- Web based configuration of your maps
Install dependent packages
# yum install php php-pdo php-pdo_mysql php-fpm php-json rsync gcc g++ php-mbstring php-mysqlnd php-gd php-xml
By default CentOS will help CentOS repositories, however if you want more packages install EPEL rpm for EPEL repository. after installing dependency packages, now download NagVis tar package from http://www.nagvis.org/ site.
# wget http://www.nagvis.org/share/nagvis-1.9.18.tar.gz
# tar -xvf nagvis-1.9.18.tar.gz
# cd nagvis-1.9.18
# ./install.sh
It will ask for confirmation before continue
Start NagVis Installation
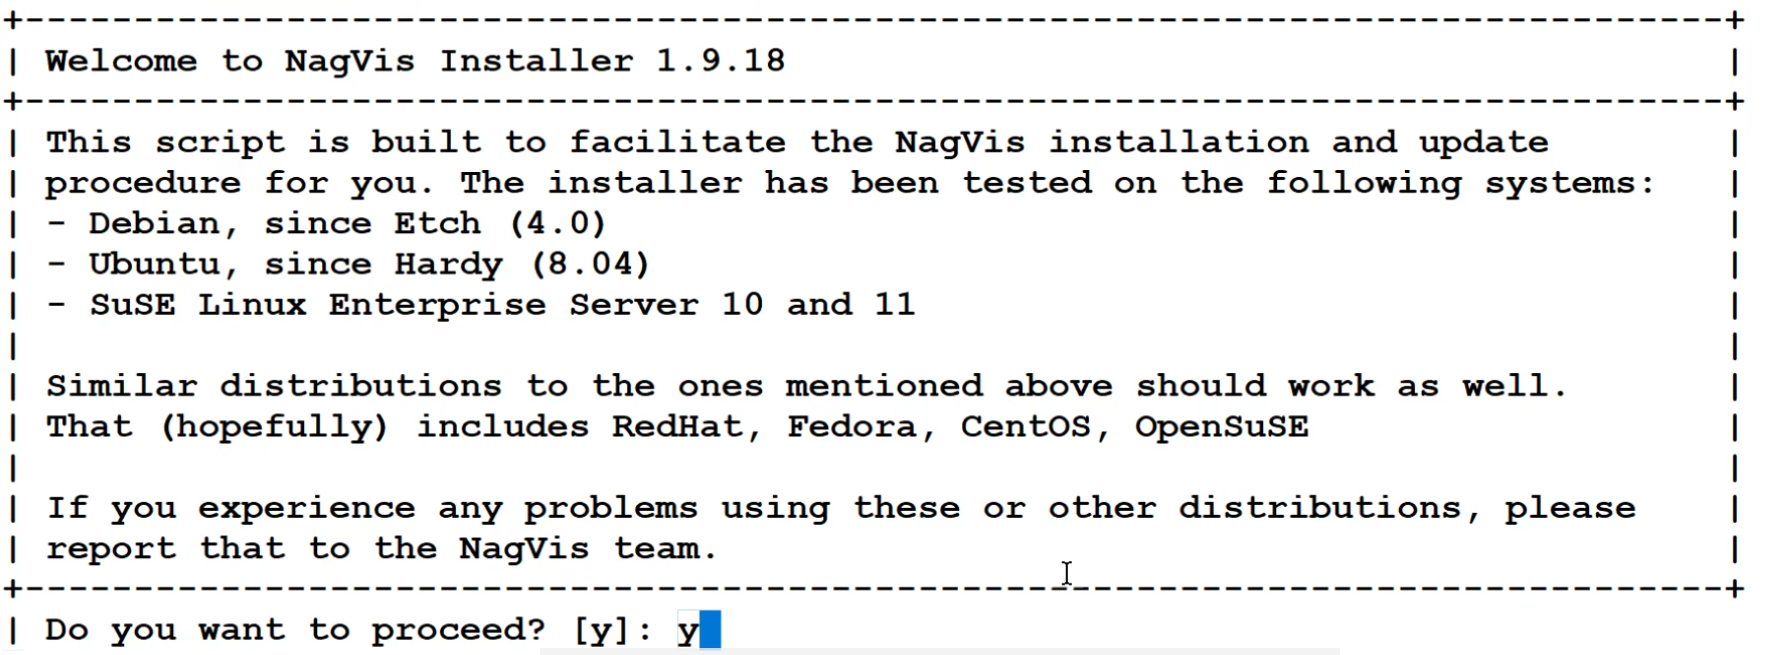
NagVis Installer
confirm by typing ‘y’ or Hit Enter key
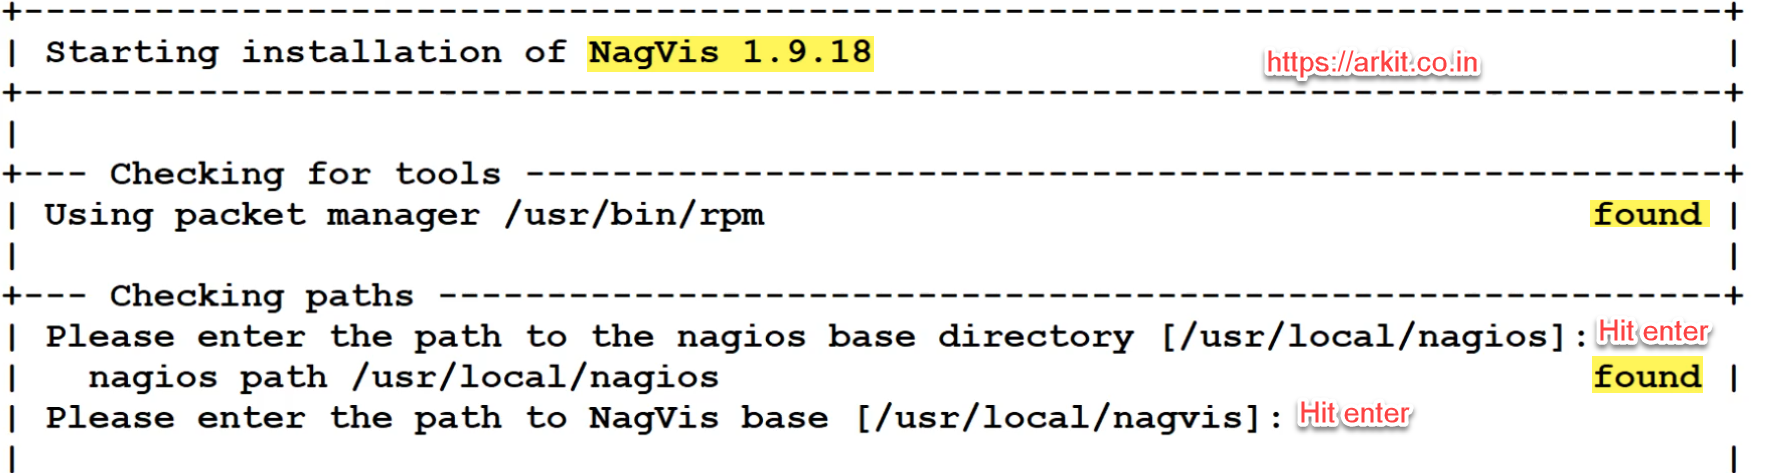
Nagvis Installation location
Provide Nagios installed path and also NagVis installation path
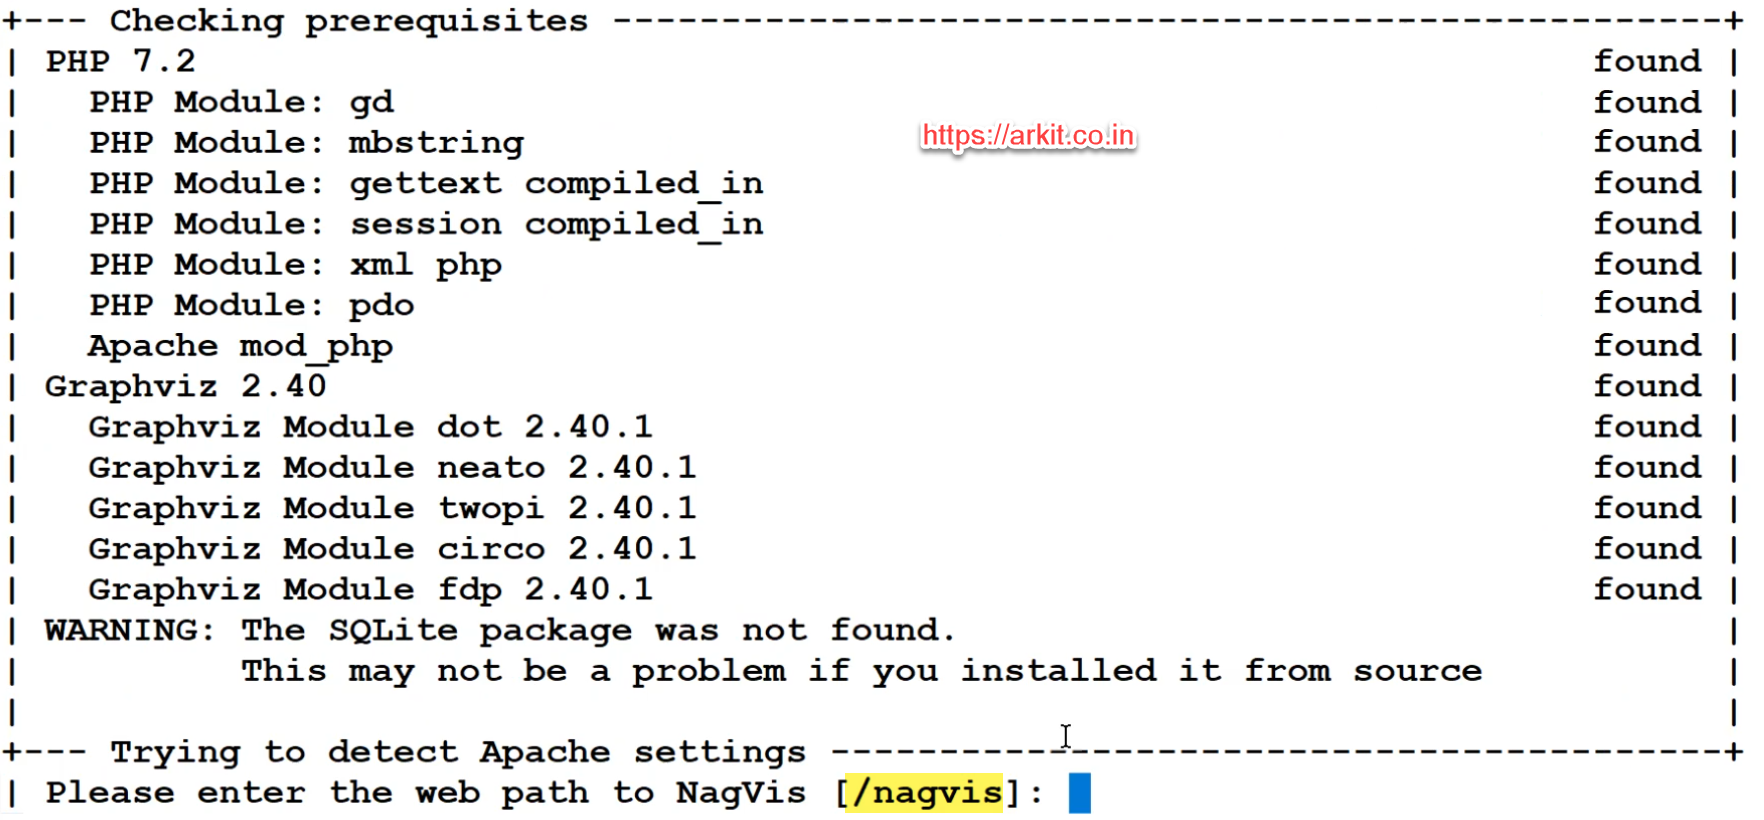
Verify dependencies
Please enter the web path to NagVis [/nagvis]:
Please enter the name of the web-server user [apache]:
Please enter the name of the web-server group [apache]
create Apache config file [y]:
Provide appropriate details and say yes hit enter
NagVis home will be : /usr/local/nagvis
Owner of NagVis files will be: apache
Group of NagVis files will be: apache
Path to Apache config dir is : /etc/httpd/conf.d
Apache config will be created: yes
Installation mode: install
Do you really want to continue? [y]: y
Installation completed.
Username: admin
Password: admin
Now restart Web server services and Nagios service to take effect
# systemctl restart httpd
# systemctl restart nagios
Access the NagVis http://IP-ADDRESS/nagvis

nagvis login screen

first page
That’s it. Successfully installed NagVis Visualization software. To configure maps you need to install either ndoutilities, mklivestatus, pgsql or other status data
Related Articles
Nagios Certified Professional Course
Thanks for your wonderful Support and Encouragement