Everyone Loves Kali Linux Installation step by step guide
Everyone Loves Kali Linux Installation in this article we are going to see installation of Kali Linux in vmware. Kali Linux is very handy distribution for penetration testing.Who are working with an Information Security, Network Security and Data protection against theft Kali will help you lot
Kali 2.0 is named as Sana, This is the most advanced penetration testing platform we have ever made.
- Kali Linux is a Debain-based Linux distribution aimed at advanced penetration testing and security auditing.
- it is developed and maintained by Offensive security.
- it is pre-installed with over 600 penetration-testing programs, such as security tasks
- it is available in 32-bit,64-bit and ARM flavors.
New Features in Kali Linux 2.0
- Updated Kernel version 4.0
- Improved HW and wireless support
- Lots of new tools added in kali Linux 2.0
- Desktop environments support – kde, lxde, i3wm, xfce, gnome, mate, e17
Hardware Requirements:
- Minimum 10 GB disk space
- Minimum 512MB RAM
- AMD64 and i386 architectures
You can download Kali Linux ISO file from below links
Download Kali -> To download Kali Linux ISOs
Kali Linux Download -> VMWare & Virtual Box Images of Kali linux
Kali Linux Installation
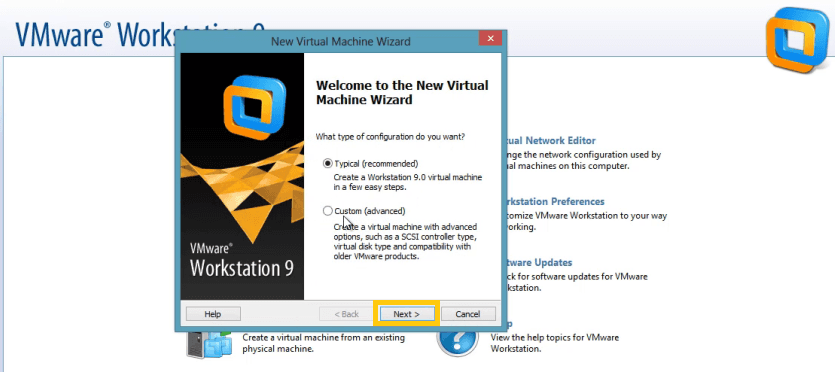
Select Typical Type of Virtual Machine Click Next
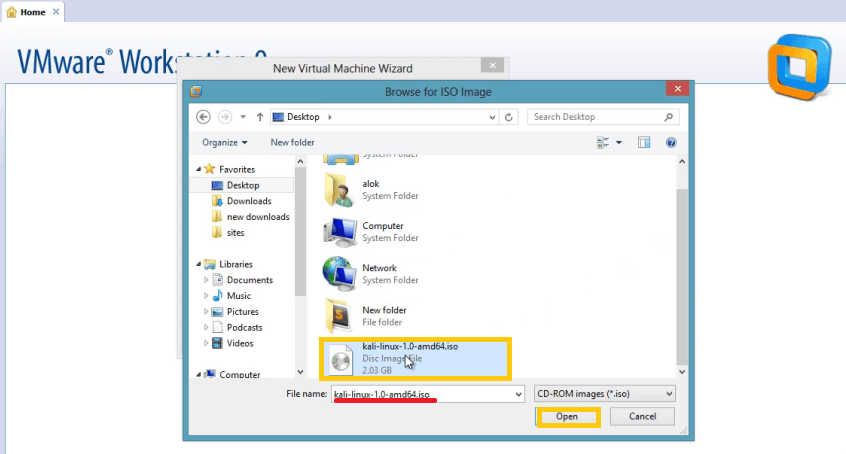
Select Kali Linux ISO Image

Select Os type is Linux
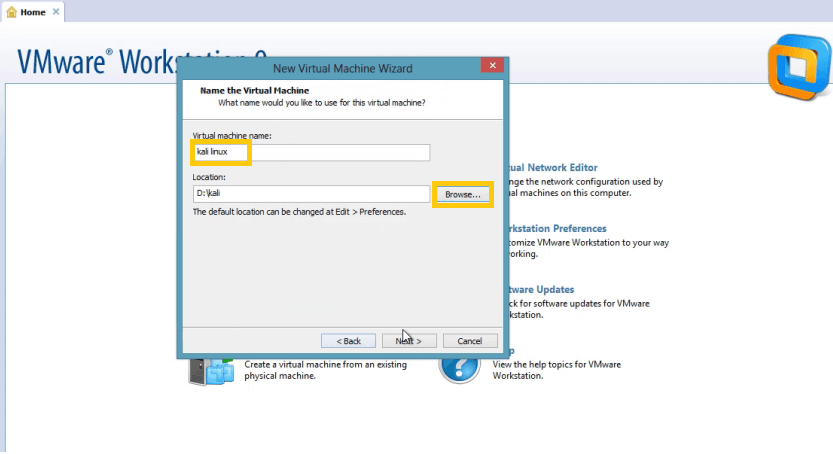
Provide Virtual Machine Name
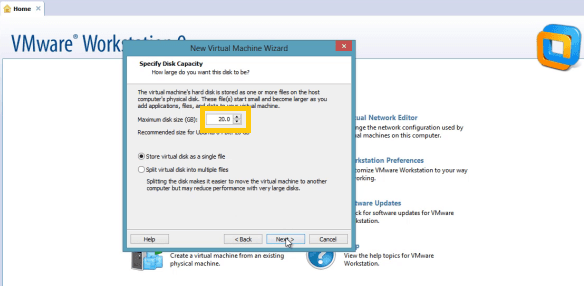
Provide the Disk Space for Basic installation 20GB is enough, but we have to install lot and lot of application in it, We may required at least 50GB
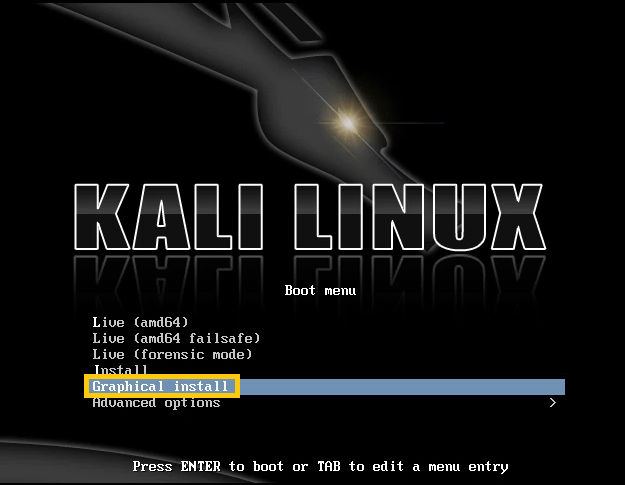
Boot with Kali Linux ISO Image, After booting with ISO image we will get an above screen. Select Graphical Install then Hit Enter
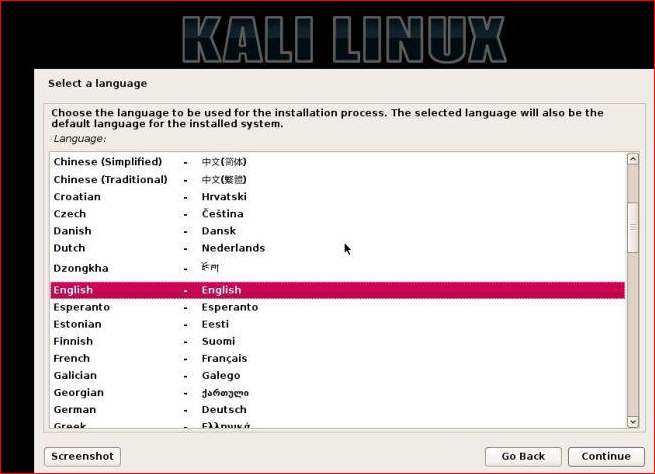
Select Language Basically most of the people are comfortable with English. Click Continue
Keyboard Language and Click Continue
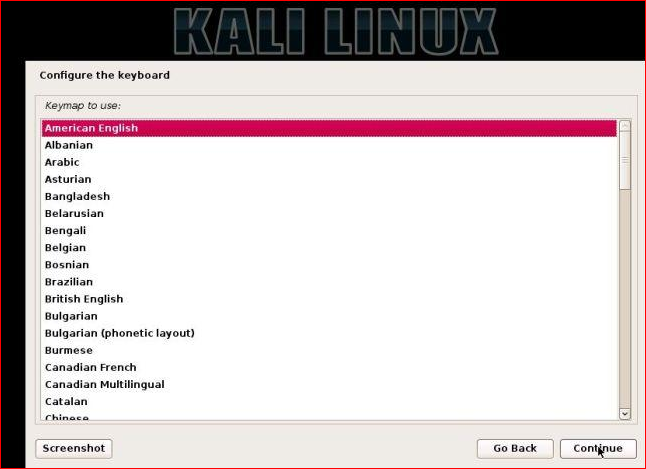
9 American Keyboard
Click Continue

Configuring Virtual Machine Network Click Continue
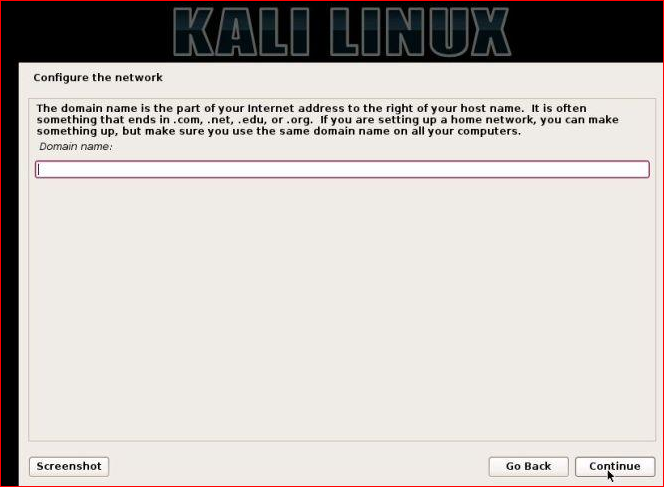
Click Continue

Provide Root user password and Click Continue

Here select first option whcih will automatically delete old partitions and create new partitions (Recommended for New Users). If your fimiliar with partitioning then you can also select Second or third options
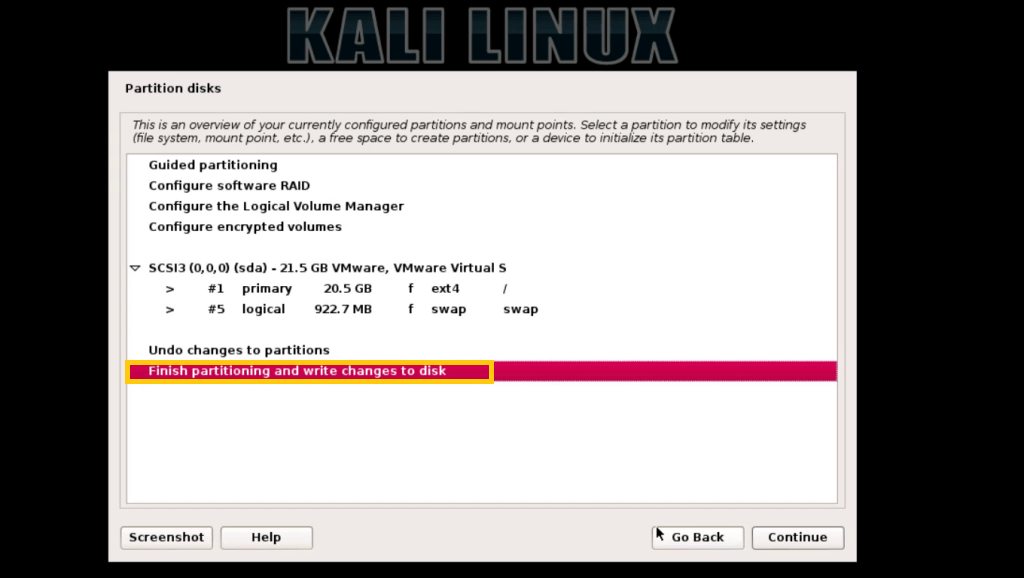
Finish Partitioning and complete partitions Click Continue
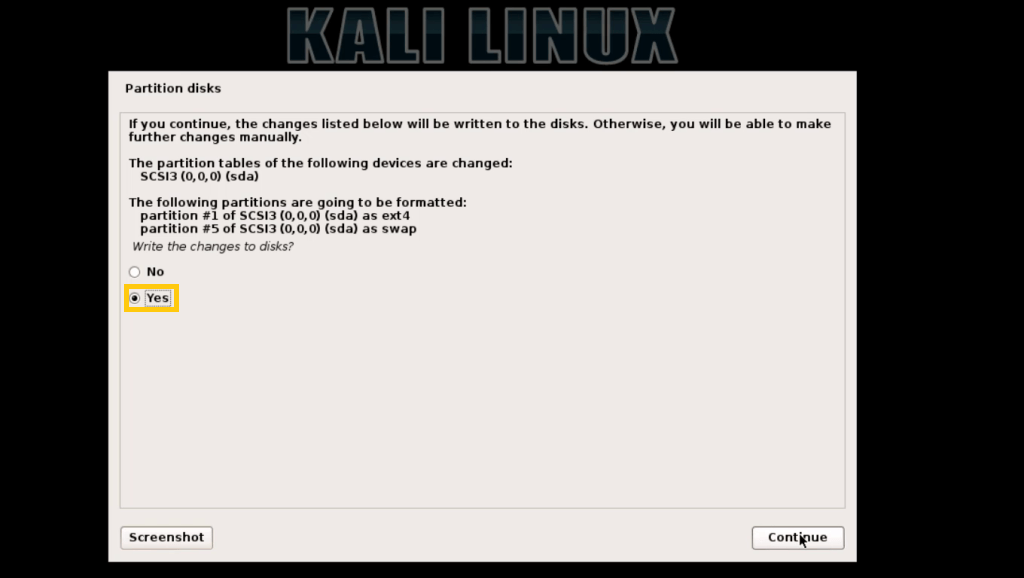
Now it will ask you for the confirmation to commit Click Continue
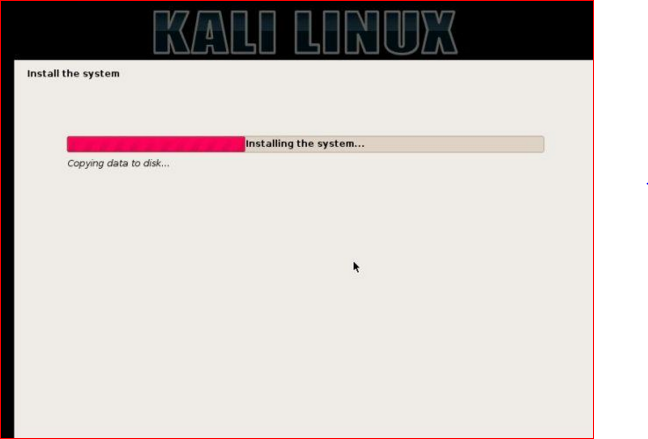
Installation Status

Select Yes and Click Continue
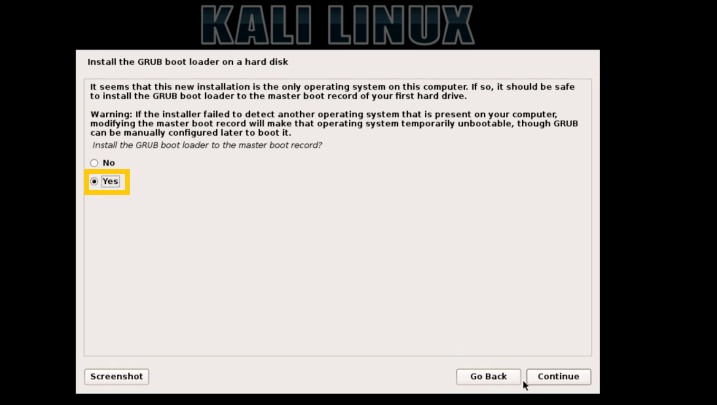
Install GRUB Click Continue
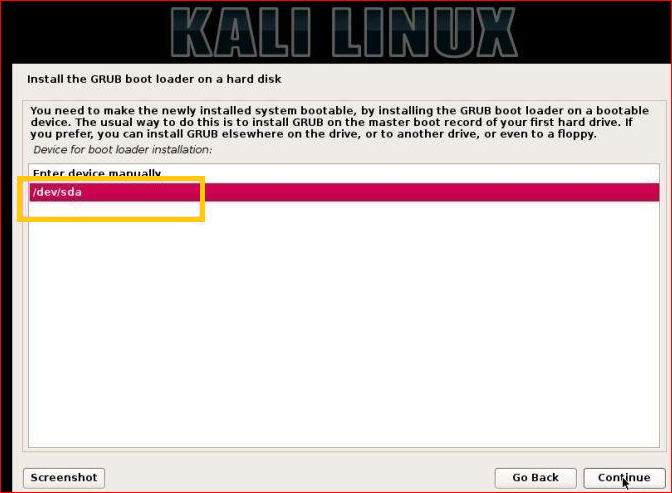
Select Installation Device and Click Continue
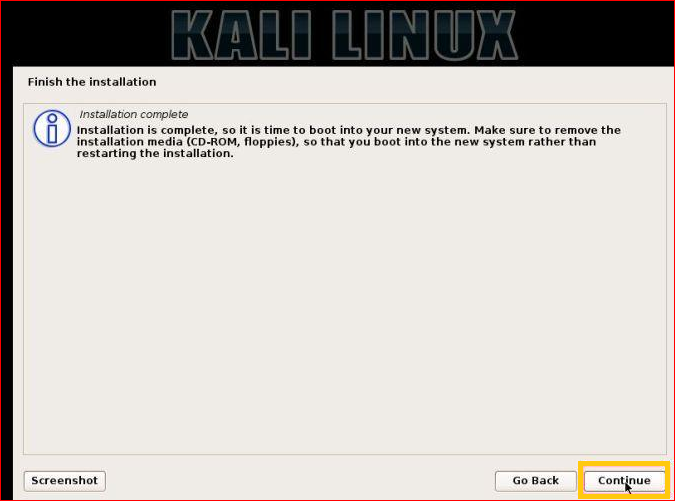
Last and final Installation Step Click Continue
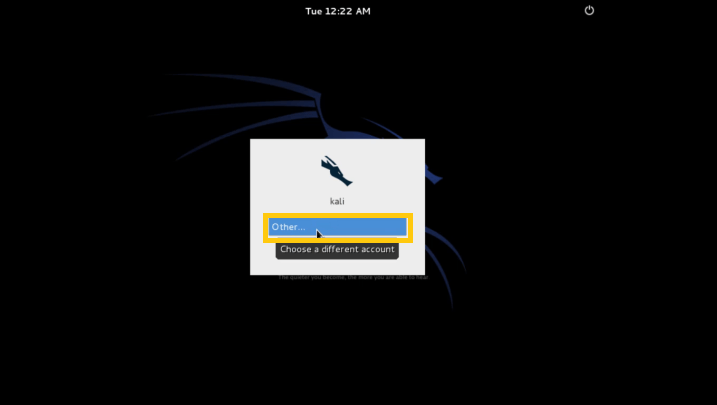
First Login Screen

Installation is completed. Kali Linux Installation successfully completed.
That’s about Kali Linux Installation
Please do comment your feedback
Thanks for your wonderful Support and Encouragement