How to Install Magento 2 on Linux | ArkIT
This tutorial will consider the installation of Magento 2.4.2 Open Source, the latest version of the platform. Bear in mind that Magento 2.3, another popular version right now, has different system requirements as well as the installation itself. Install Magento 2 on Linux
How to Install Magento 2 on Linux
The setup process has changed. While in Magento 2.3 it was possible to deploy an online store from the browser through the graphical interface, in 2.4 you can only use the command line.
After launching an online shop we recommend converting a Magento website to a PWA
Step 1: Preparation
Before installing Magento 2 on Linux/Ubuntu, you should take care of the appropriate environment. There are several main software components for your future online shop. Let’s deal with them.
1. First and foremost, you need to update Ubuntu packages.
Here is the command:
sudo apt update
2. Then choose a web server. In the example below, we’ll use NGINX (1.x), but you can choose Apache as well (2.4).
Installing the web server:
sudo apt install nginx
Сhecking the status after installation:
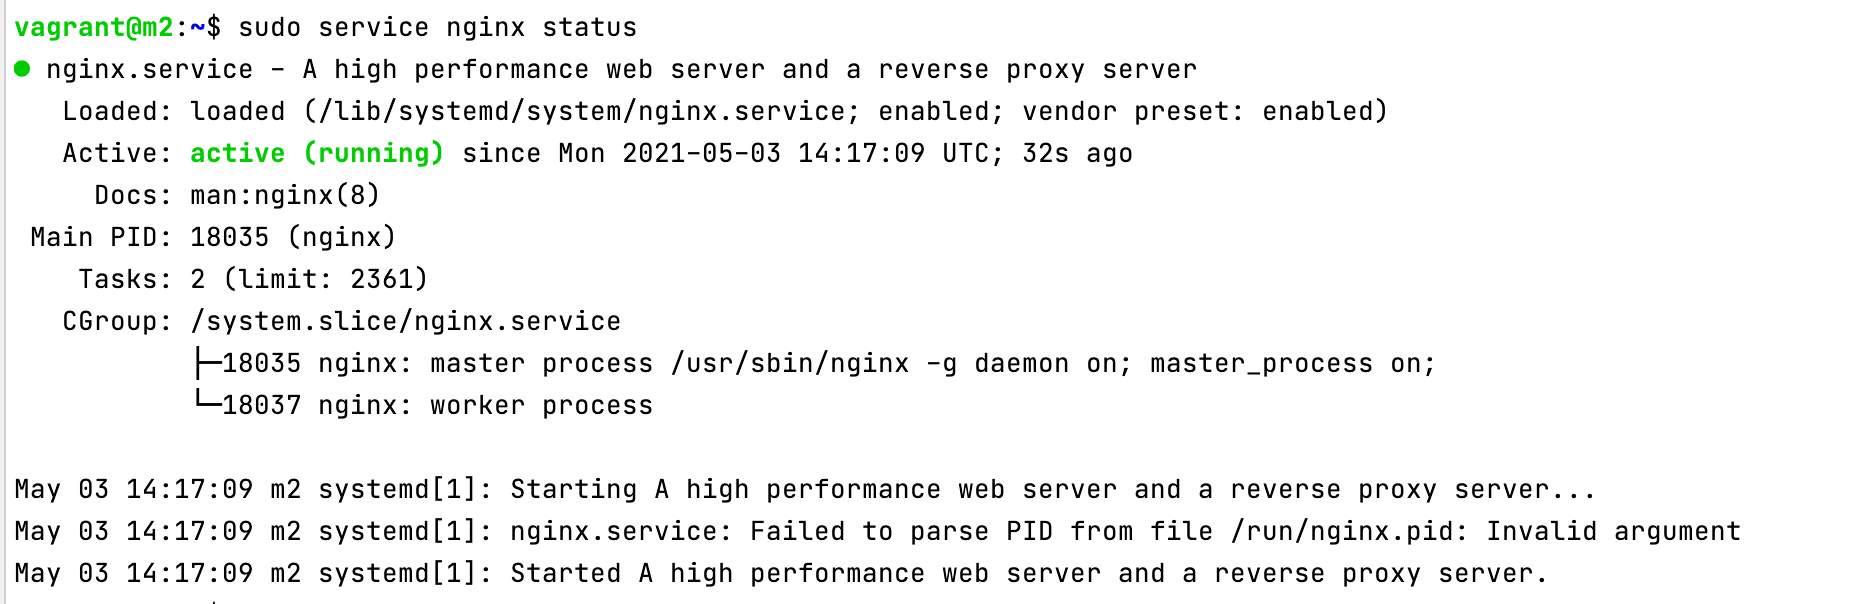
Magento provides a standard web server configuration file that is located in the root of the store and called nginx.conf.sample. It can be used as a web server configuration file for your store.
3. Set up PHP (7.4)
Let’s add the repository to Ubuntu:
sudo LC_ALL=C.UTF-8 add-apt-repository -y ppa:ondrej/php
printf "y\n" | sudo apt-add-repository ppa:brightbox/ruby-ng
Then install PHP from previously added repositories:
sudo apt install php7.4 php7.4-common php7.4-gmp php7.4-curl php7.4-soap php7.4-bcmath php7.4-intl php7.4-mbstring php7.4-xmlrpc php7.4-mysql php7.4-gd php7.4-xml php7.4-cli php7.4-zip php7.4-fpm
You can check the version of the installed PHP with the command php -v:

4. Set up Composer (2.0.13)
Here is the command for the version check:

5. Choose a database server: we’ll go with MariaDB (10.4), but MySQL also fits (8.0).
- Firstly, install MariaDB:
sudo apt-get install mariadb-server mariadb-client
- Then run this command:
sudo mysql_secure_installation
The following screenshot showcases that the installation was successful and you can check the version:

- To connect to the database we use the following command:
mysql -u root -p *
- Create a database:
CREATE DATABASE mg2;
- Create a new user:
CREATE USER 'mg2'@'localhost' IDENTIFIED BY 'YOUR_PASSWORD';
- Give the user rights:
Grant mg2 user to mg2 database:
GRANT ALL ON mg2.* TO 'mg2'@'localhost' IDENTIFIED BY 'YOUR_PASSWORD' WITH GRANT OPTION;
- Finally, do the privilege update and exit:
FLUSH PRIVILEGES;
EXIT;
- Elasticsearch (7.x)
- Magento 2.4.2
- Optional: if additional caching is required, you can also install Redis Cache (6.0), for instance.
Step 2: Installation
You can launch the process in three ways:
- take Composer;
- clone the Magento 2 GitHub repository;
- or download the archive from the Magento website.
We’d recommend Composer as a bit more convenient and slightly faster option.
If you start the installation not via Composer, you may see the following error while trying to launch the shop with the URL. This means that there are not enough modules (there is no autoload file). You need to run composer install, as shown in the screenshot.

Before the start of the installation, such a screen appears:

So, we can start to assemble the online store. In the command line, we write the name of the database that we will use, the login, password, other admin data, currency, localization, time zone, and so forth.
Everything in one large command:
php bin/magento setup:install --base-url=http://m2.local/ --db-host=mysql --db-name=mg2 --db-user=mg2 --db-password=YOUR_PASSWORD --admin-firstname=Magento --admin-lastname=User --admin-email=magento.user@example.com --admin-user=admin --admin-password=admin123 --language=en_US --currency=USD --timezone=America/Chicago --use-rewrites=1 --search-engine=elasticsearch7 --elasticsearch-host=m2.local --elasticsearch-port=9200
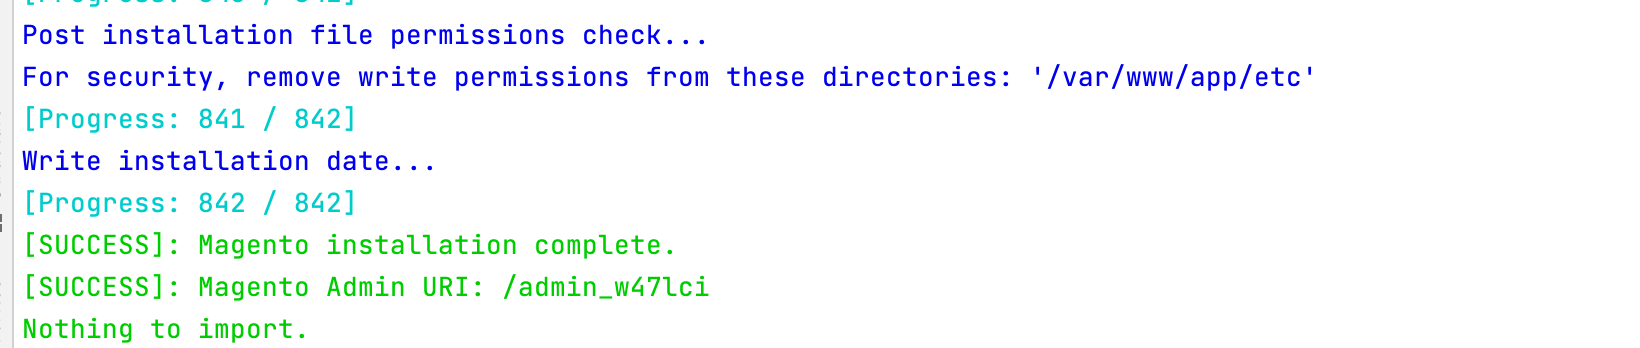
When the installation is completed, we get two links: a link for visiting the front-end of the site (a storefront) and the back-end (Magento Admin), as in the screenshot below. At the end of the installation you’ll see the following:
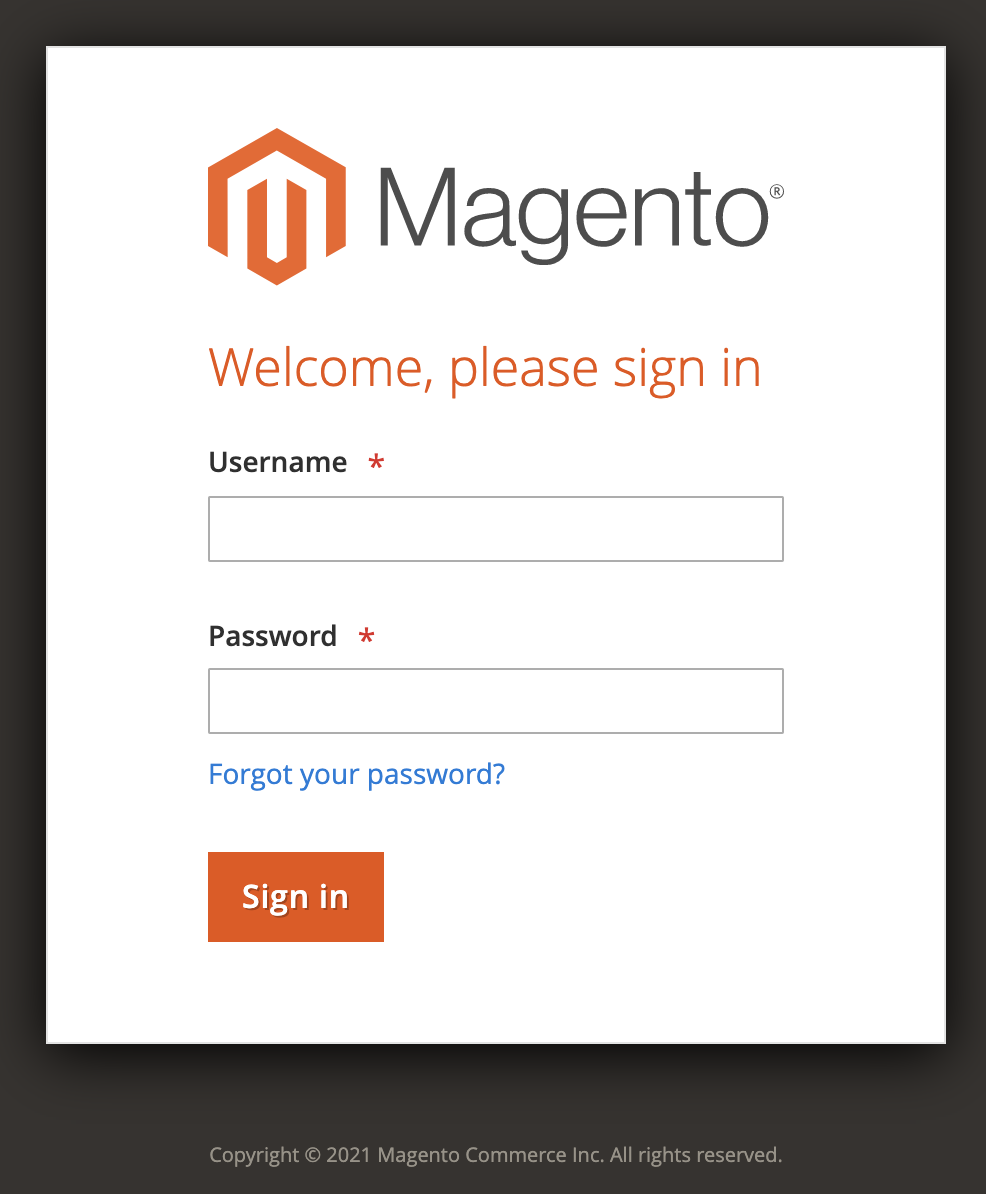
That’s it! There is a back-end:
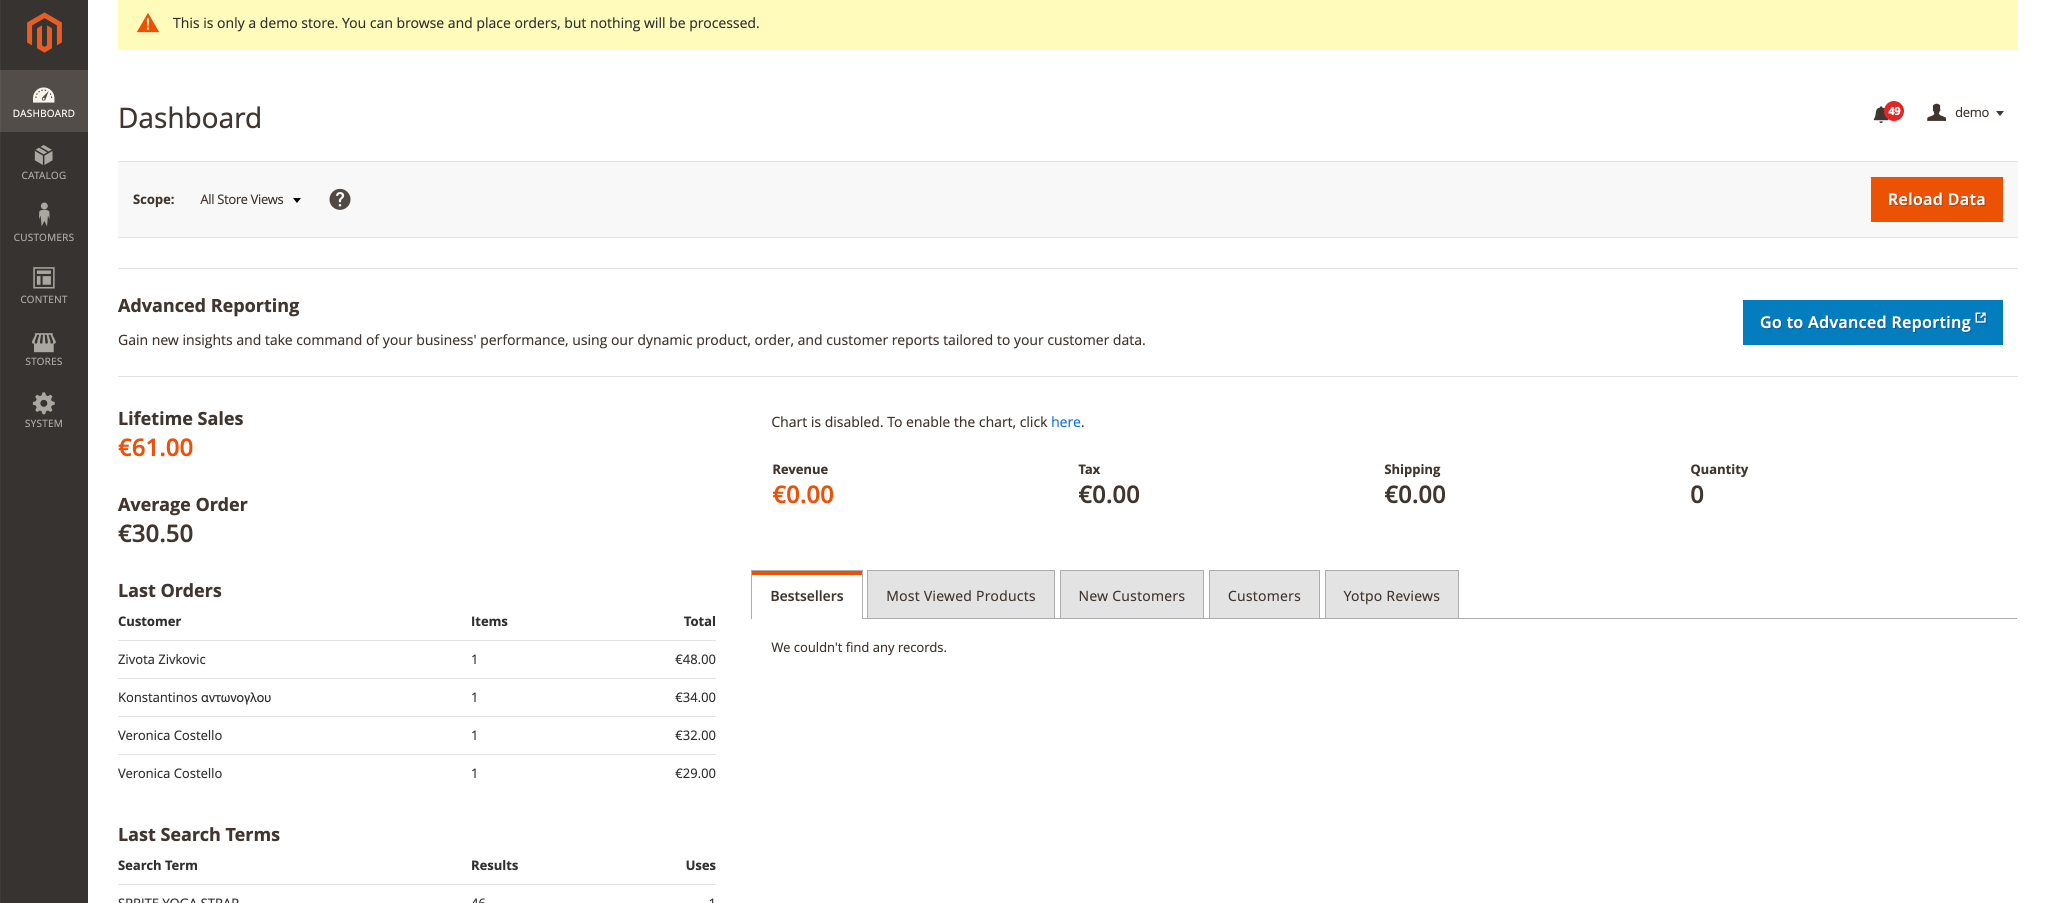
There is a dashboard of your store:
There are screenshots from the front-end:
To Conclude
The installation of Magento does not require advanced technical knowledge and skills: even a junior or trainee can handle it. In a normal situation, the process can take from half an hour to a couple of hours. You only need to be very scrupulous about the system requirements.
About the Author
Alex Husar

Alex Husar, Chief Technology Officer at Onilab with 8+ years of experience in developing PWAs, Magento migration, and Salesforce development. He graduated from the Czech Technical University and obtained a bachelor’s degree in Computer Software Engineering. Alex’s expertise includes both full-stack dev skills and a strong ability to provide project-critical guidance to the whole team.
Related Articles
Web Hosting virtual configuration
How to Install Magento 2 on Linux arkit.co.in
Thanks for your wonderful Support and Encouragement